 Emily CarterData Recovery
Introduction
You can recover a deleted file from Recycle Bin, a File History backup, Windows File Recovery, or a storage-device scan. These four methods are arranged from the simplest and lowest-risk option to more advanced recovery. Check Recycle Bin first, followed by backups created before the deletion. If neither contains the file, use a command-line recovery tool or scan the affected drive. Stop saving files to the source drive until recovery is complete because new data may overwrite the deleted content.
What Happens After You Delete a File?
A normal deletion usually moves the file to Recycle Bin. Using Shift+Delete, emptying Recycle Bin, or deleting from some removable devices bypasses that protection. Windows may then mark the file's storage space as available even though recoverable data remains on the device.
These procedures still apply to Windows 10, but Microsoft ended standard Windows 10 support on October 14, 2025. A supported Windows 11 installation is recommended for ongoing security updates.
How to Choose a Recovery Method
| Situation | First choice | Main requirement |
|---|---|---|
| File was deleted normally | Recycle Bin | Recycle Bin has not been emptied |
| Recycle Bin was emptied | File History | Backups were enabled before deletion |
| No backup is available | Windows File Recovery | A separate destination drive |
| You need filters and file previews | Fionn Data Recovery | Windows can detect the source device |
Method 1. How to Recover a Deleted File from Recycle Bin
When to Use
Start here after deleting a file normally from an internal drive. Files deleted from USB drives, network folders, or with Shift+Delete may not appear.
Step-by-Step Guide
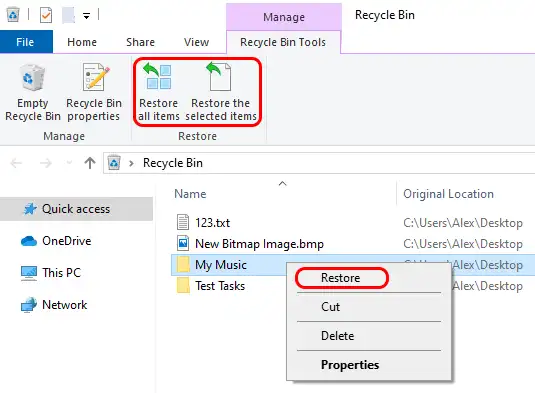
- Double-click Recycle Bin on the desktop.
- Find the file by its name, original location, or deletion date.
- Right-click the file and select Restore.
How to Verify
Open the original location shown in Recycle Bin. Confirm the file's name and size, then open it in the appropriate application. If it is missing, avoid further writes and check File History.
Method 2. Restore the File with File History
When to Use
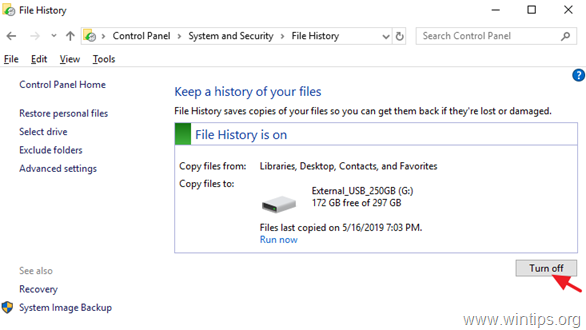
Use this method if File History saved the folder to an external drive or network location before deletion. Enabling File History afterward cannot create a backup of an already deleted file.
Step-by-Step Guide
- Connect the drive previously used for File History.
- Open File Explorer and navigate to the folder that contained the file.
- Right-click the folder and select Restore previous versions.
- Select a dated version and choose Restore or Restore to.
How to Verify
Open the restored file and compare its date and contents with the version you need. Use Restore to when you want to preserve an existing file with the same name. If no suitable version exists, continue with storage-device recovery.
Method 3. Recover the File with Windows File Recovery
When to Use
Microsoft's command-line tool can search local internal drives, external drives, and USB devices when Recycle Bin and backups do not help. It does not recover directly from cloud storage or network shares. Use /regular for a recently deleted file on a healthy NTFS drive. Use /extensive for older deletions, formatted or corrupted drives, FAT, or exFAT.
Step-by-Step Guide
- Connect a separate destination drive and note its drive letter.
- Install Windows File Recovery from Microsoft Store.
- Open Windows File Recovery and approve the permission prompt.
- Run a command after replacing the drive letters and file extension with your values:
winfr C: E: /regular /n *.docxFor an extensive search, run:
winfr C: E: /extensive /n *.docx - Enter
Yto start the search.
How to Verify
Open the automatically created Recovery_<date and time> folder on the destination drive. Locate the file and test its complete contents; a recovered filename alone does not confirm integrity.
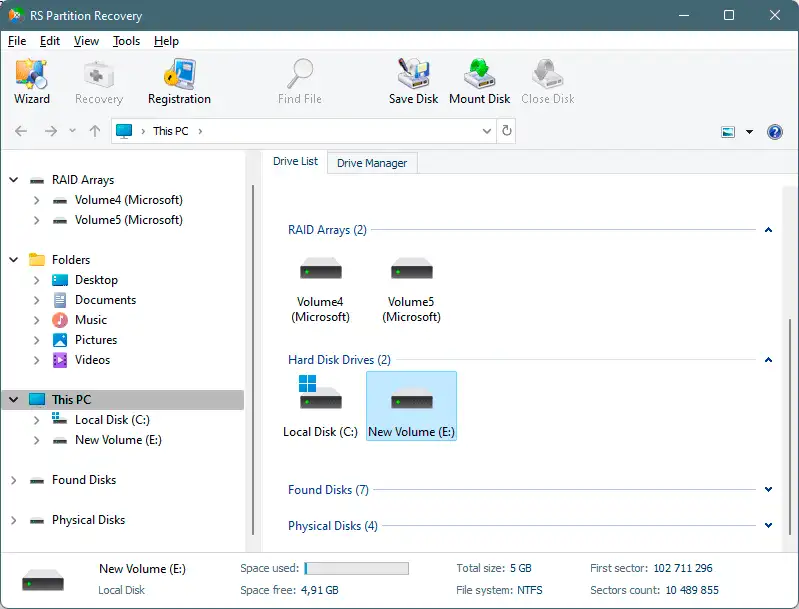
If the command does not find a usable copy, a graphical scan can make it easier to filter and preview detected files.
Method 4. Recover Files with Fionn Data Recovery
When to Use
This optional method can scan local disks, external hard drives, USB drives, SD cards, and camera memory cards. It performs a local read-only scan without uploading files. Results can be filtered by name, location, type, time, and size. If the initial scan misses the file, deep and RAW signature scans are available.
Step-by-Step Guide
- Launch Fionn Data Recovery and select the recovery option for the affected data type or storage location.
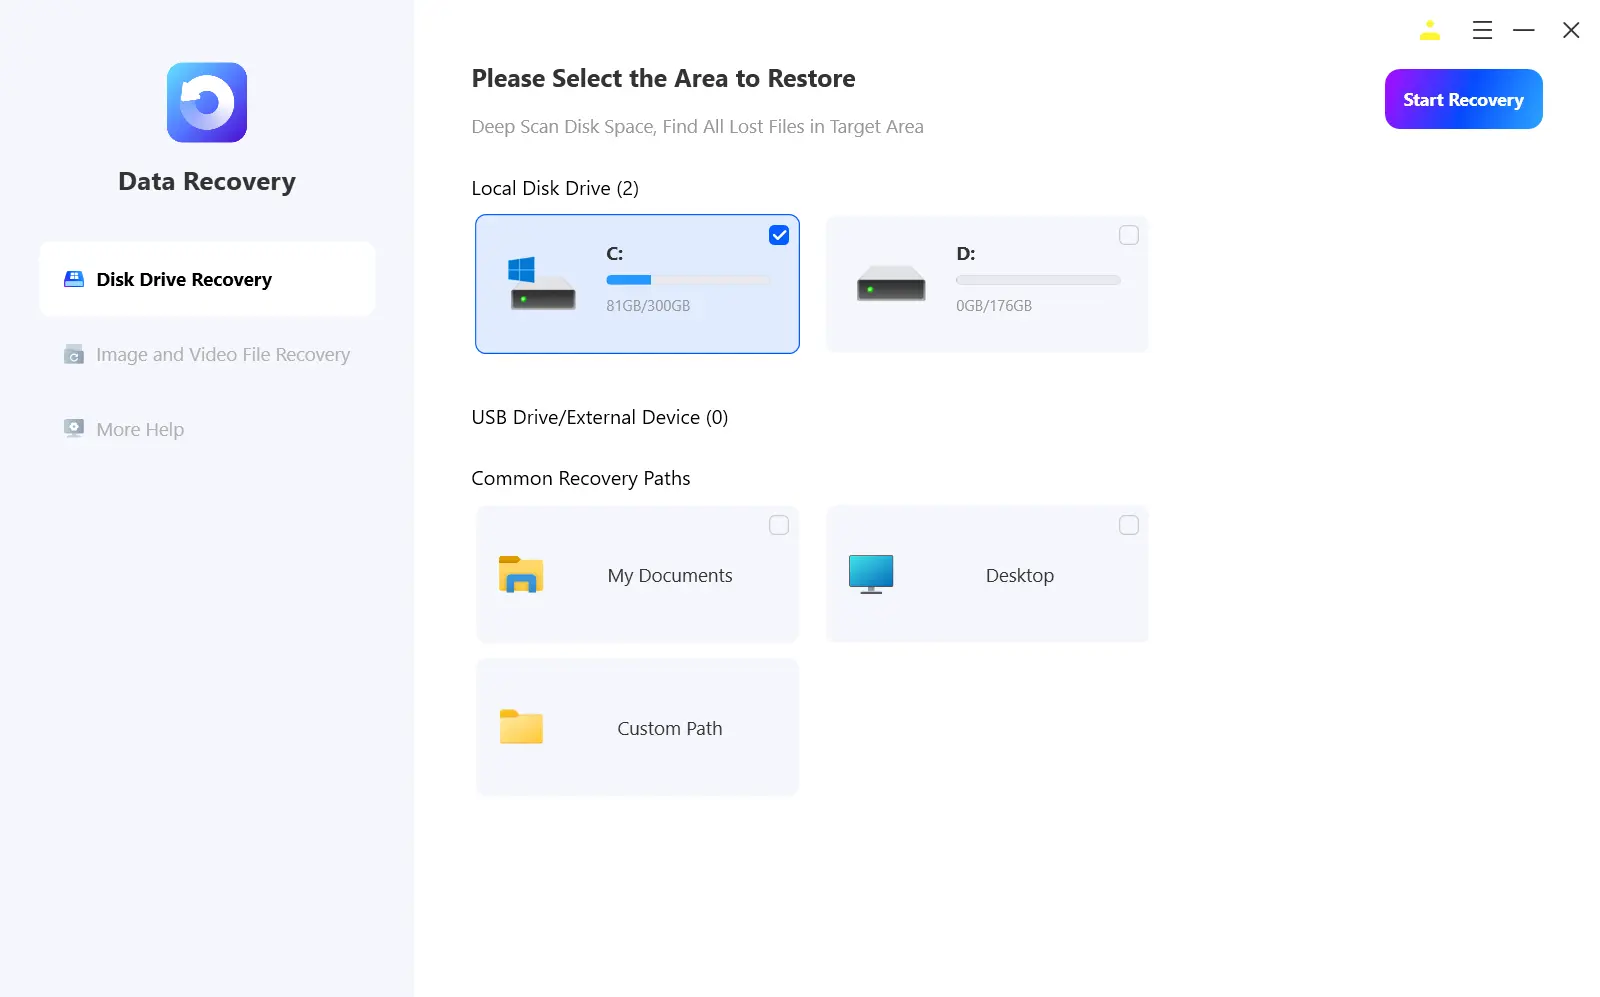
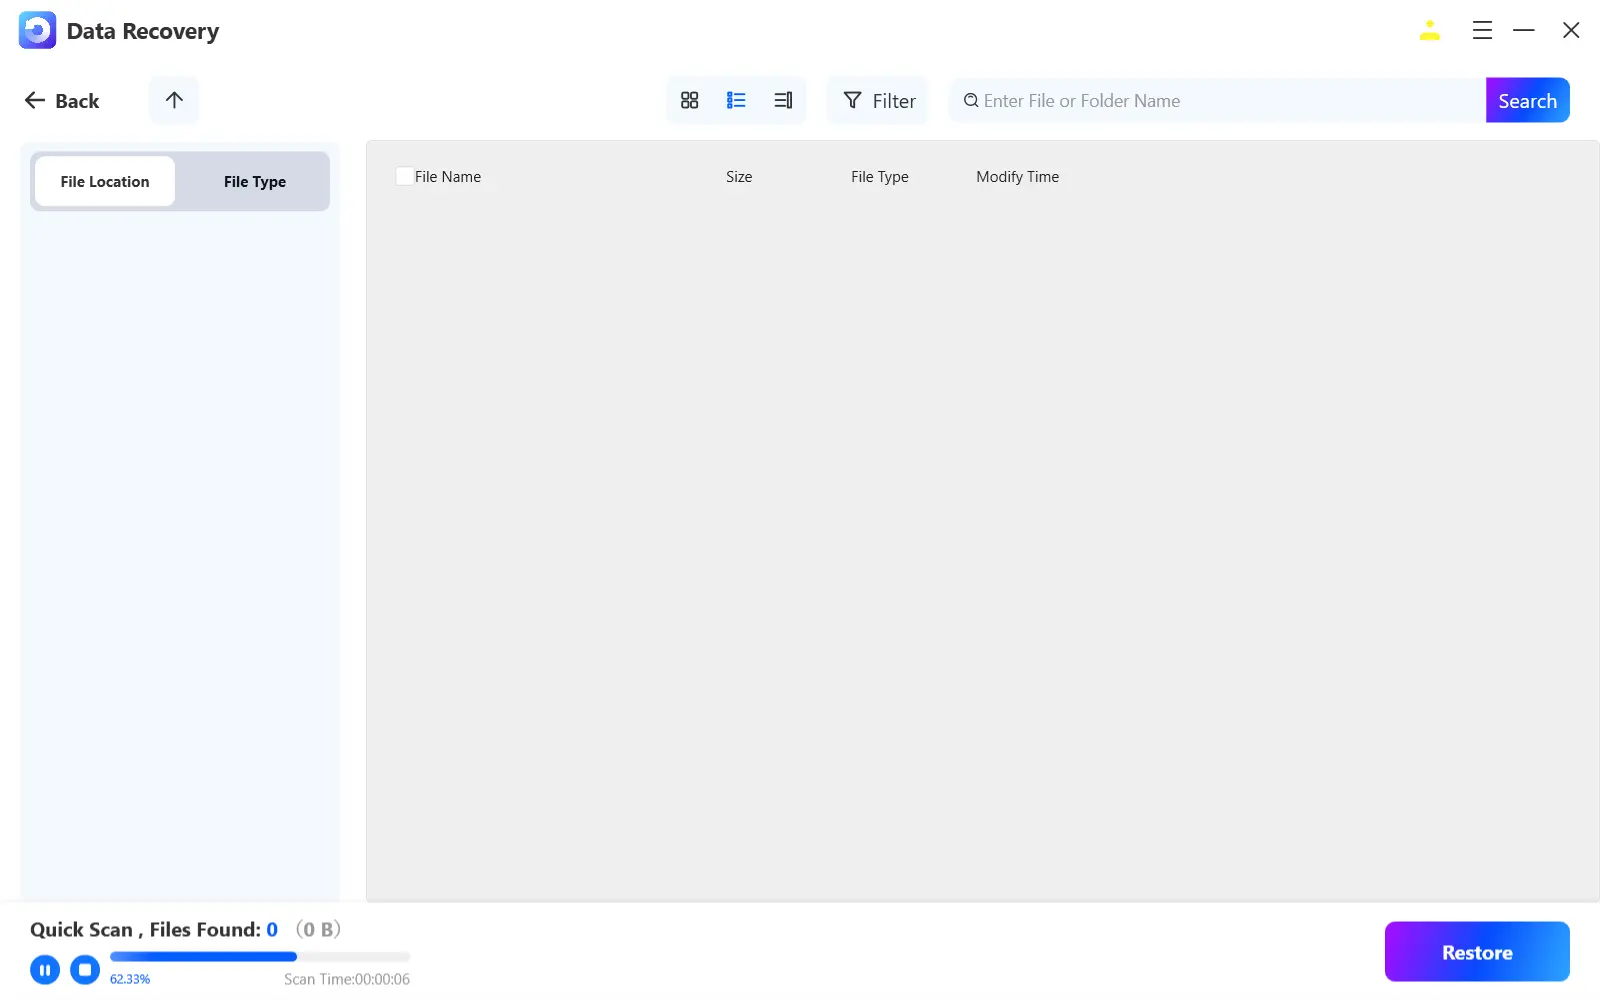
- Start the automatic scan and wait while the selected location is searched for deleted or lost files.
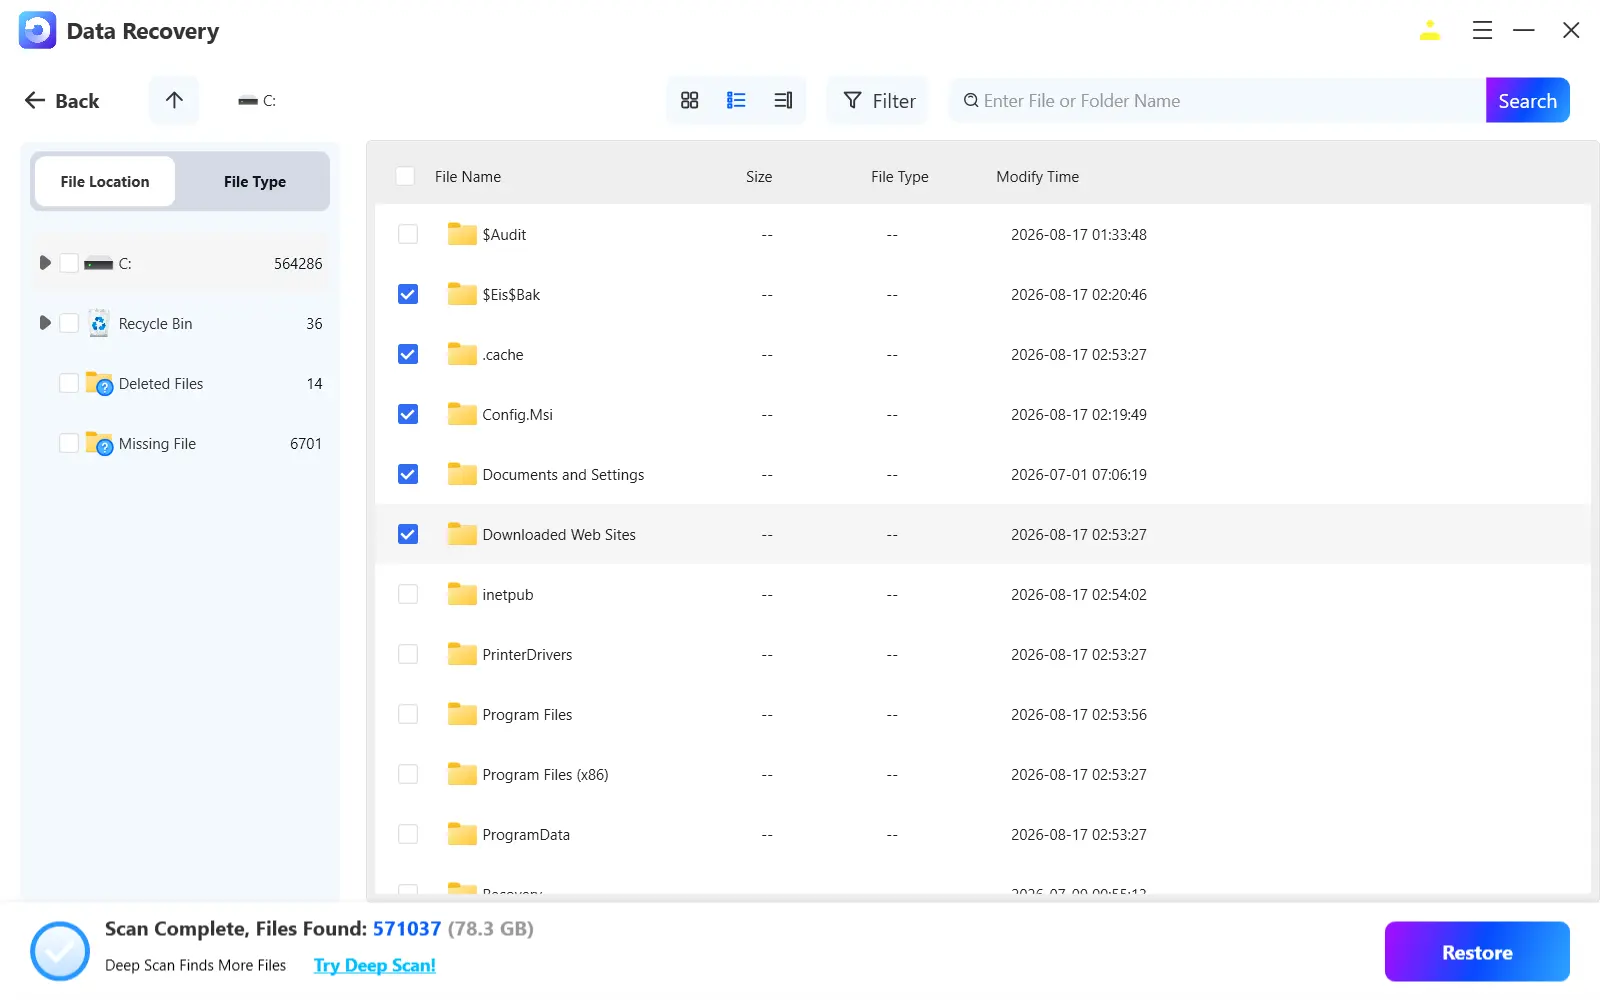
- Filter the results and preview files before selecting the copies you want to recover.
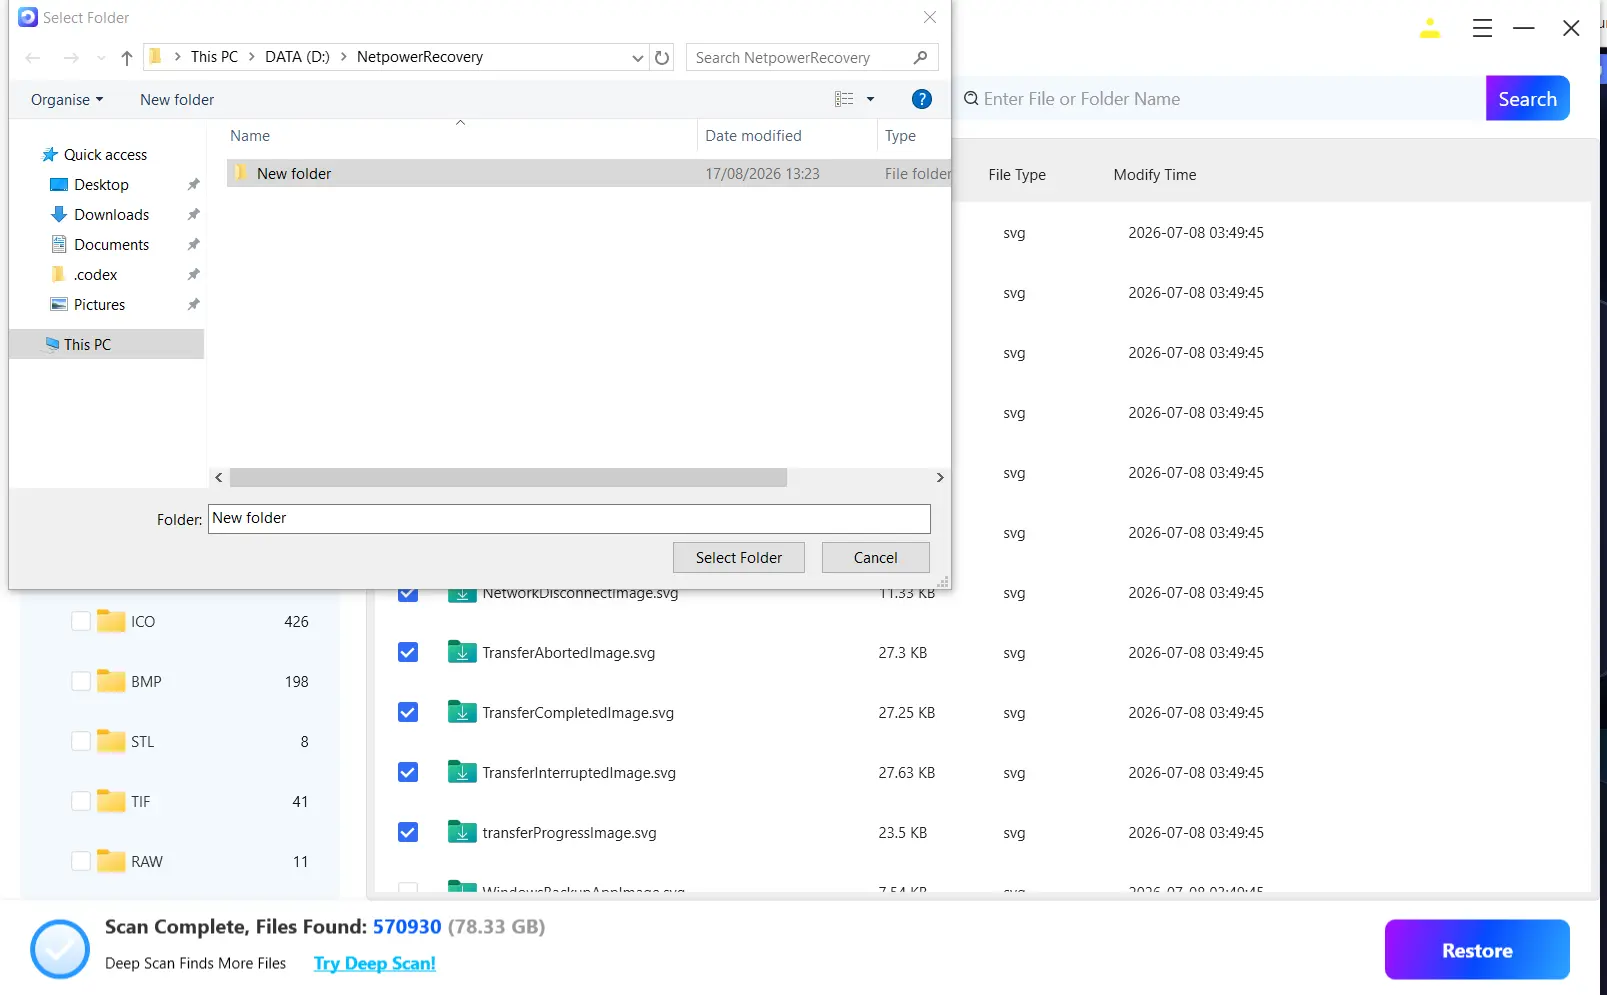
- Choose a folder on a different disk and start the recovery process.
How to Verify
Open the recovered copy from the destination disk. Check several pages of a document, the contents of an archive, or the beginning and end of an audio or video file. If the file is incomplete, preview another detected copy or try a deeper scan.
Safe File Recovery Practices
- Recover files to a physically different drive, not another folder on the source device.
- Do not format a device when Windows prompts you to do so.
- Avoid repair operations that modify the file system until important data is recovered.
- Stop do-it-yourself recovery if the drive clicks, disconnects, or disappears from Windows.
- Create a second backup after verifying the recovered files.
Conclusion
Check Recycle Bin first, then restore a version created by File History. If no backup exists, use Windows File Recovery with a separate destination drive. Fionn Data Recovery is an optional next step when filters and previews would help you evaluate scan results. Verify success by opening each recovered file and checking its contents, not merely its filename. If the device behaves unpredictably or repeated scans produce damaged copies, stop writing to it and consult a professional recovery service.
Frequently Asked Questions
Can I recover a file after emptying Recycle Bin?
Sometimes. Check File History and other backups first. If none exists, minimize use of the source drive and try Windows File Recovery or a read-only scan. The result depends on whether new data has overwritten the deleted content.
How do I recover a file deleted with Shift + Delete?
The file usually bypasses Recycle Bin. Check File History, then use a recovery tool if no backup is available. Save recovered copies to another physical drive.
Why should recovered files go to another drive?
Saving creates new data. Those writes can occupy space belonging to another deleted file, making it partially or completely unrecoverable.
Can I recover a deleted file from an SSD?
You can try, but the outcome is less predictable because TRIM and later writes may clear reusable blocks. Stop using the SSD and check backups before scanning it.
What should I do if the recovered file will not open?
Check its size, preview another detected copy, or use a deeper scan mode. Changing the extension does not restore missing content. For high-value data, stop experimenting and contact a specialist.


