

Record Gameplay on Windows 10 Without Lag (2026 High-FPS Guide)
2026-03-02 15:19:13

How to Record Screen on Windows 10 & 11 (2026 Free & Easy Guide)
2026-02-24 09:14:14

Why Is My Screen Recording Lagging? 7 Ways to Fix Dropped Frames
2026-02-04 18:41:57

Best Screen Recording Software for Teachers | FionnShare Screen Rec
2026-01-04 16:06:55

Fionn Screen Rec: Lightweight & Reliable Screen Recorder for Teams
2025-12-12 14:35:19
Why Is My Screen Recording Lagging? 7 Ways to Fix Dropped Frames
2026-02-04 18:41:57
Why Is My Screen Recording Lagging? 7 Fixes to Stop Stuttering & Dropped Frames on Windows
1. The “Slideshow” Nightmare: Why is My Screen Recording Lagging?
You finally finish recording a one-hour gameplay highlight, online course, or product demo. Everything felt smooth during capture — so you expect a perfect result.
Then you hit play.
The video stutters. Frames are missing. The motion looks more like a slideshow than a real video.
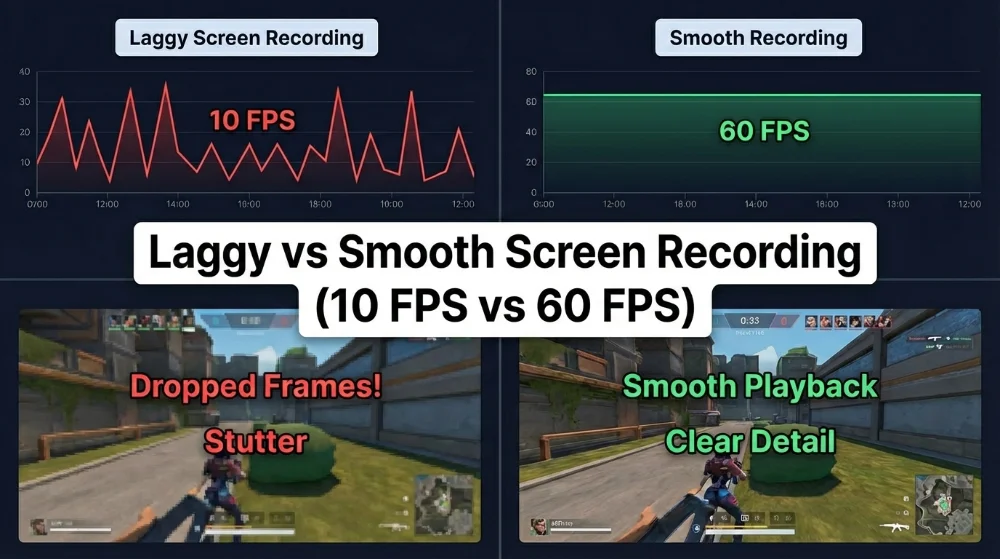
If this sounds familiar, you’re not alone. Screen recording lag is one of the most common problems for creators, teachers, gamers, and remote workers.
Many people immediately assume: “My computer is too weak.” But in reality, screen recording lagging usually has less to do with bad hardware and more to do with poor resource allocation.
In this guide, we’ll break down exactly why screen recording lags — and how to fix stuttering and dropped frames with the right settings and tools.
2. Why Does Screen Recording Lag?
From a technical perspective, most screen recording issues come from three core bottlenecks.
1) CPU / GPU Overload
Screen recording software has to capture frames in real time, process audio, encode video, and write everything to disk — all while your game, browser, or meeting software is running.
This creates direct competition for resources:
•The game wants GPU power.
•The encoder wants CPU power.
•The system wants memory and disk bandwidth.
When resources are limited, something has to lose — and recording quality is often the first victim.
2) Encoding Bottleneck
Your screen recording is not saved “as-is”. Every frame must be compressed by an encoder into formats like MP4 or MKV.
If you’re using software encoding (such as x264), your CPU is doing all the heavy lifting. For high resolutions and frame rates, this can easily overwhelm even mid-range processors.
3) Disk Write Speed
Even if encoding is fast enough, the video still needs to be written to disk in real time.
Traditional HDDs often can’t keep up with:
•1080p 60FPS
•4K recording
•High bitrates
When the disk becomes the bottleneck, frames get dropped and videos stutter.
3. The 7 Most Effective Fixes
This section is where most problems get solved. These methods cover the vast majority of real-world recording issues.
Method 1: Enable Hardware Encoding
Core idea: Don’t let your CPU do everything.
Modern GPUs include dedicated video encoders:
•NVIDIA: NVENC
•AMD: AMF / VCE
•Intel: Quick Sync
These are specialized chips designed purely for video encoding — fast, efficient, and with minimal impact on performance.
What to do:
In your recording settings, switch the encoder from: x264 (Software) to: NVENC / AMF / QuickSync.
This single change often eliminates lag instantly.
Many professional tools (such as Screen Recorder and other performance-focused software) allow you to enable hardware encoders, which is why they often perform much better on the same machine.
Method 2: Balance Resolution and Frame Rate
Not every video needs 4K at 60FPS.
In fact:
•Tutorials and presentations → 1080p / 30FPS
•Slides and demos → 24FPS is enough
•Most YouTube content → 1080p / 30–60FPS
Recording at 4K 60FPS produces 8× more data than 1080p 30FPS. That’s an enormous workload increase for your system.
Smart strategy: Start with 1080p / 30FPS.
If everything is stable, gradually increase.
Method 3: Adjust Bitrate and Presets
Bitrate controls how much data is written per second.
Higher bitrate:
•Better quality
•Larger files
•More system load
Most encoders also offer CPU usage presets:
•ultrafast
•veryfast
•medium
•slow
The slower the preset, the more CPU it consumes.
Recommended for stability:
Use veryfast or superfast. Slightly bigger files, much smoother recording.
Method 4: Run as Administrator
This is a surprisingly effective trick.
Running your recorder as administrator gives it higher system priority, meaning Windows is less likely to throttle it when resources are tight.
This helps with:
•Frame stability
•Audio sync
•Encoder consistency
Especially useful when recording games or live meetings.
Method 5: Kill Background Resource Hogs
You may think only your game is running, but in reality:
- 20 Chrome tabs
- Adobe Premiere in background
- Cloud sync tools
- Antivirus scans
All of these consume CPU, RAM, and disk bandwidth.
Do this:
Open Task Manager → sort by CPU usage → close everything non-essential.
Also test with Windows Game Mode on/off — results vary by system.
Method 6: Use the Right Storage and Format
Storage:
Always record to an SSD if possible. SSDs write data 5–10× faster than HDDs, reducing lag and dropped frames.
Format:
MP4 is universal, but not ideal for real-time recording.
Better alternatives: MKV or FLV
- Handle crashes better — your recording is less likely to be lost if the software crashes.
- Have lower encoding overhead — smoother recording with less CPU strain.
- Are safer for long recordings — ideal for professional or extended sessions.
Method 7: Use a Lightweight Recording Tool
Why do some tools perform better than system recorders?
Because they are built specifically for real-time capture, with:
- Multithreaded encoding
- Smart buffering
- Hardware-first architecture
- Low memory footprint
System tools like Xbox Game Bar are convenience features. Dedicated software is optimized at the engine level.
For example, tools like Screen Recorder focus heavily on lightweight performance, hardware acceleration, and stable frame pipelines — which is why they run smoother on low-end or older PCs compared to generic recorders. You can learn more about how Fionn Screen Recorder achieves reliable, low-latency recording for teams in our dedicated guide.
Sometimes, the biggest performance upgrade isn’t a setting — it’s the tool itself.
4. Quick Troubleshooting Table
| Symptom | Quick Fix |
|---|---|
| Video freezes or tears | Enable hardware encoder (NVENC / AMD) |
| Output looks choppy | Lower FPS to 30 |
| Whole system slows down | Reduce recording resolution |
| Audio out of sync | Match sample rates (44.1kHz vs 48kHz) |
This table alone solves most emergency cases.
5. Final Thoughts
Screen recording is not about having the most expensive computer — it’s about managing system resources intelligently.
Once you understand:
- where encoding happens
- what consumes CPU
- how data is written
Recording becomes predictable and controllable instead of frustrating.
And if you don’t want to manually tweak dozens of technical settings, using a lightweight, performance-optimized recorder is often the simplest solution. Tools like Screen Recorder essentially bundle all of these best practices — hardware encoding, smart presets, efficient storage handling — into a workflow that just works. If you want a step-by-step walkthrough, check out our complete beginner-to-advanced guide on using Fionn Screen Rec on Windows, which shows how to set everything up for smooth, professional recordings.
In the end, smooth recording isn’t magic.
It’s the result of the right settings, the right storage, and the right tool.

Copyright © 2026 Wonderful Apps Limited.
 English