
Back to blog

Record Gameplay on Windows 10 Without Lag (2026 High-FPS Guide)
2026-03-02 15:19:13

How to Record Screen on Windows 10 & 11 (2026 Free & Easy Guide)
2026-02-24 09:14:14
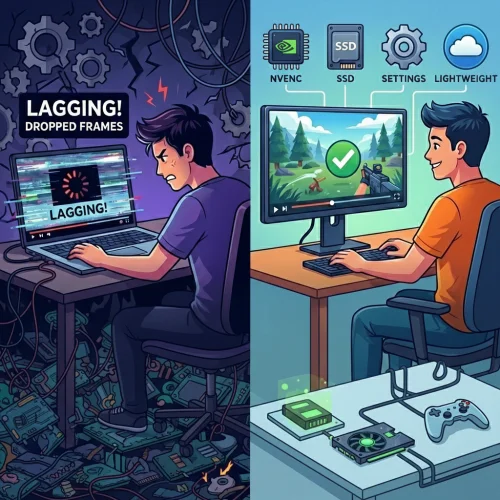
Why Is My Screen Recording Lagging? 7 Ways to Fix Dropped Frames
2026-02-04 18:41:57

Best Screen Recording Software for Teachers | FionnShare Screen Rec
2026-01-04 16:06:55

Fionn Screen Rec: Lightweight & Reliable Screen Recorder for Teams
2025-12-12 14:35:19
Copyright © 2026 Wonderful Apps Limited.
 English