 Emily CarterDLL Errors
Introduction
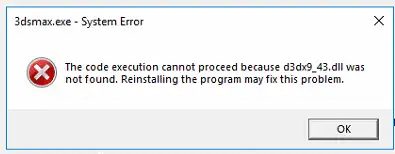
The safest way to fix d3dx9_43.dll missing is to restore the application’s required DirectX component through a trusted installer, not a standalone DLL website. Three methods are covered below. Start by repairing the affected application when only that program fails. Install Microsoft’s official DirectX End-User Runtime if the repair fails or several older applications show similar errors. Use the optional broader DLL scan only after those targeted methods.
Why d3dx9_43.dll Can Be Missing When DirectX Is Current
Microsoft lists
D3DX9_43.dll
among the optional side-by-side components from the legacy DirectX SDK. These libraries are separate from the core DirectX runtime included with Windows. Microsoft’s
DirectX framework package documentation
identifies the supported D3DX9 range as
d3dx9_24.dll
through
D3DX9_43.dll
.
Consequently,
dxdiag
can display a current DirectX version while an application still cannot load this optional file. The error usually means the required side-by-side component is unavailable to that application. It does not automatically indicate that the core DirectX version, graphics driver, or Windows installation is outdated.
Quick Method Comparison
| Observed situation | Best starting method | Why |
|---|---|---|
| Only one application fails | Repair or reinstall the application | Its dependency setup may not have completed correctly. |
| Several applications report D3DX9 files missing | Install Microsoft’s runtime | The shared optional components may be absent. |
| Several DLL or dependency-loading errors appear | Run an optional broader scan | A wider diagnostic can check for additional problems. |
| The message says “Bad Image,” “entry point not found,” or names another file | Reassess the error | That is no longer the same missing-file scenario. |
Method 1: Repair or Reinstall the Affected Application
When to Use
Use this method first when one application started showing the error after installation, an update, or a move to another drive. Repairing the application lets its own installer restore the dependencies selected by its publisher.
Step-by-Step Guide
- Close the affected application and save any open work.
- Open
Settings > Apps > Installed appsin Windows 11. On Windows 10, openSettings > Apps > Apps & features. - Open the affected application’s advanced options.
- Select Repair if that option is available.
- If Repair is unavailable or unsuccessful, uninstall the application and reinstall it using its original trusted installer.
Microsoft notes that Repair is not offered for every program. Its
Windows application repair instructions
also describe the
Control Panel > Programs > Programs and Features
route for desktop programs that provide Repair or Change.
How to Verify
Restart the application from its normal shortcut and repeat the action that previously triggered the message. The method worked if the application opens and the exact
d3dx9_43.dll
error does not return. If it remains, proceed to the official runtime package.
Method 2: Install the Official Microsoft DirectX End-User Runtime
When to Use
Use Microsoft’s runtime when application repair fails, the application has no repair option, or multiple programs report missing D3DX9 components. This package adds optional legacy libraries without replacing the DirectX runtime built into Windows.
Step-by-Step Guide
- Open Microsoft’s official DirectX End-User Runtime Web Installer page .
- Select
Download
and save
dxwebsetup.exe. - Close the affected application.
- Run
dxwebsetup.exeand complete the displayed installation prompts. - Restart Windows after setup finishes.
If the computer must remain offline, use Microsoft’s official
DirectX End-User Runtimes (June 2010) package
. Extract that package into a new empty folder, open the extracted folder, and run
DXSETUP.exe
.
How to Verify
Launch every application that displayed the error. A successful repair removes the same missing-file message. There is no need to expect a different DirectX version in
dxdiag
, because Microsoft states that this package does not modify the Windows DirectX runtime.
Method 3: Use Fionn DLL Fixer for a Broader Scan
When to Use
Consider this optional Windows method when the official runtime and application repair do not solve the problem, especially if other DLL or dependency-loading errors also appear. The tool can scan for missing, damaged, version-mismatched, and System32-path-related DLL issues. It supports automatic repair, manual repair, and a post-repair recheck.
Step-by-Step Guide
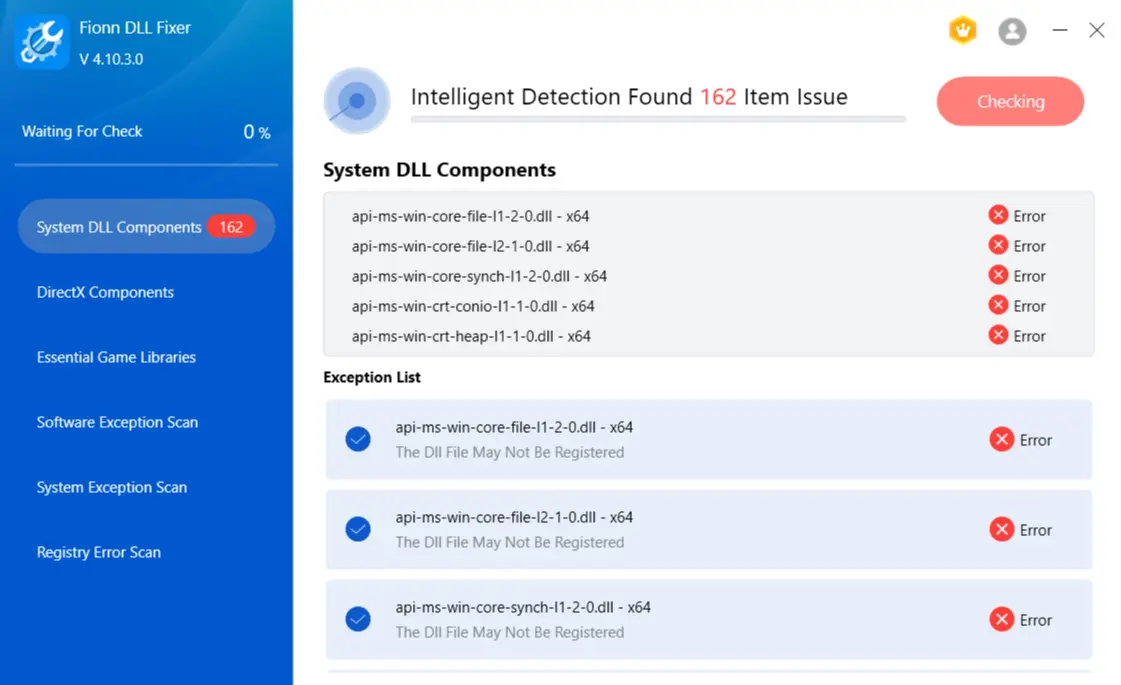
- Launch Fionn DLL Fixer. The software automatically scans your PC for DLL and system issues and displays the detected results when the scan is complete.
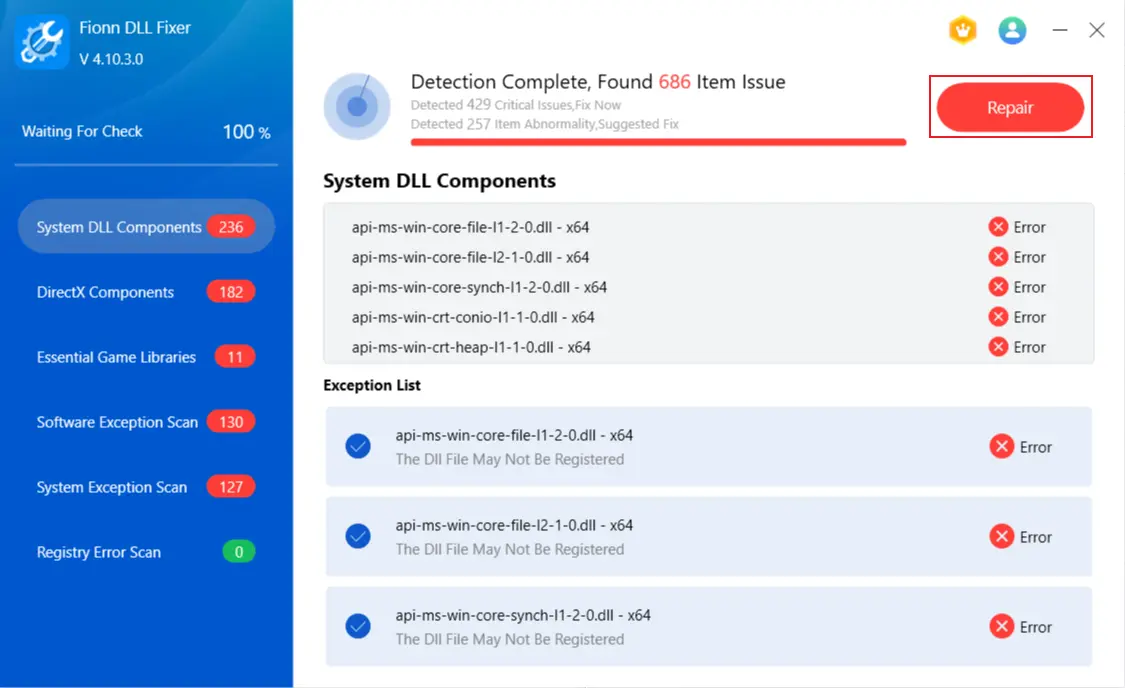
- After the scan finishes, click “Repair” to start fixing all detected DLL and system issues automatically.
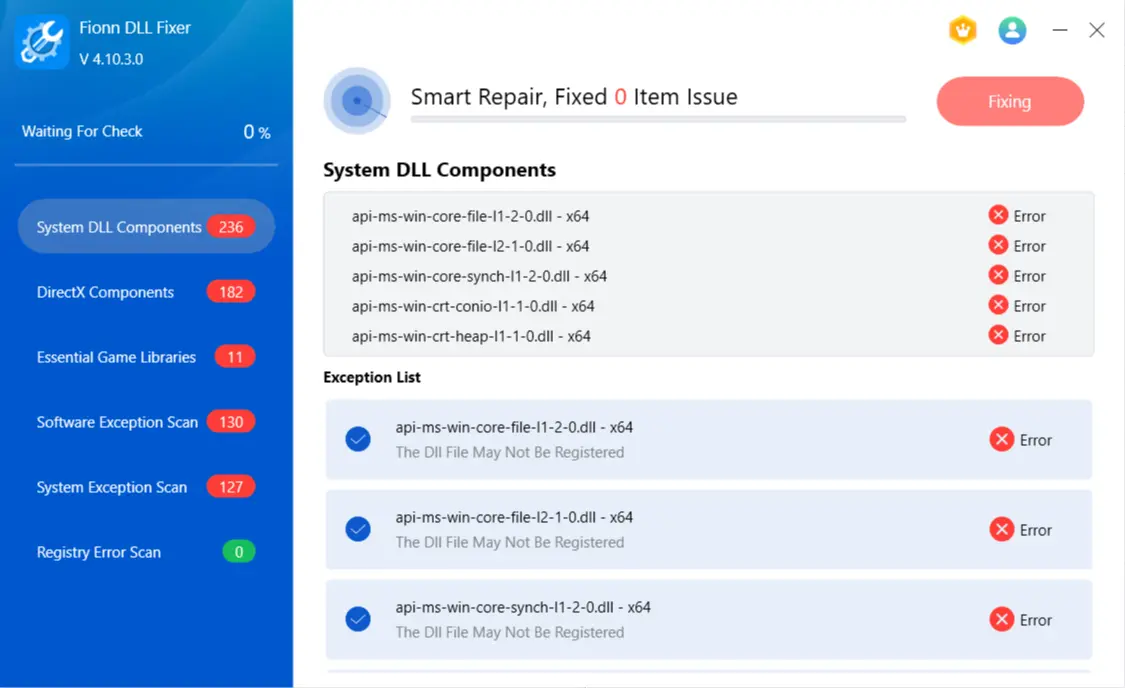
- Wait while the repair is in progress. During this process, the button changes to “Fixing” until all issues have been repaired.
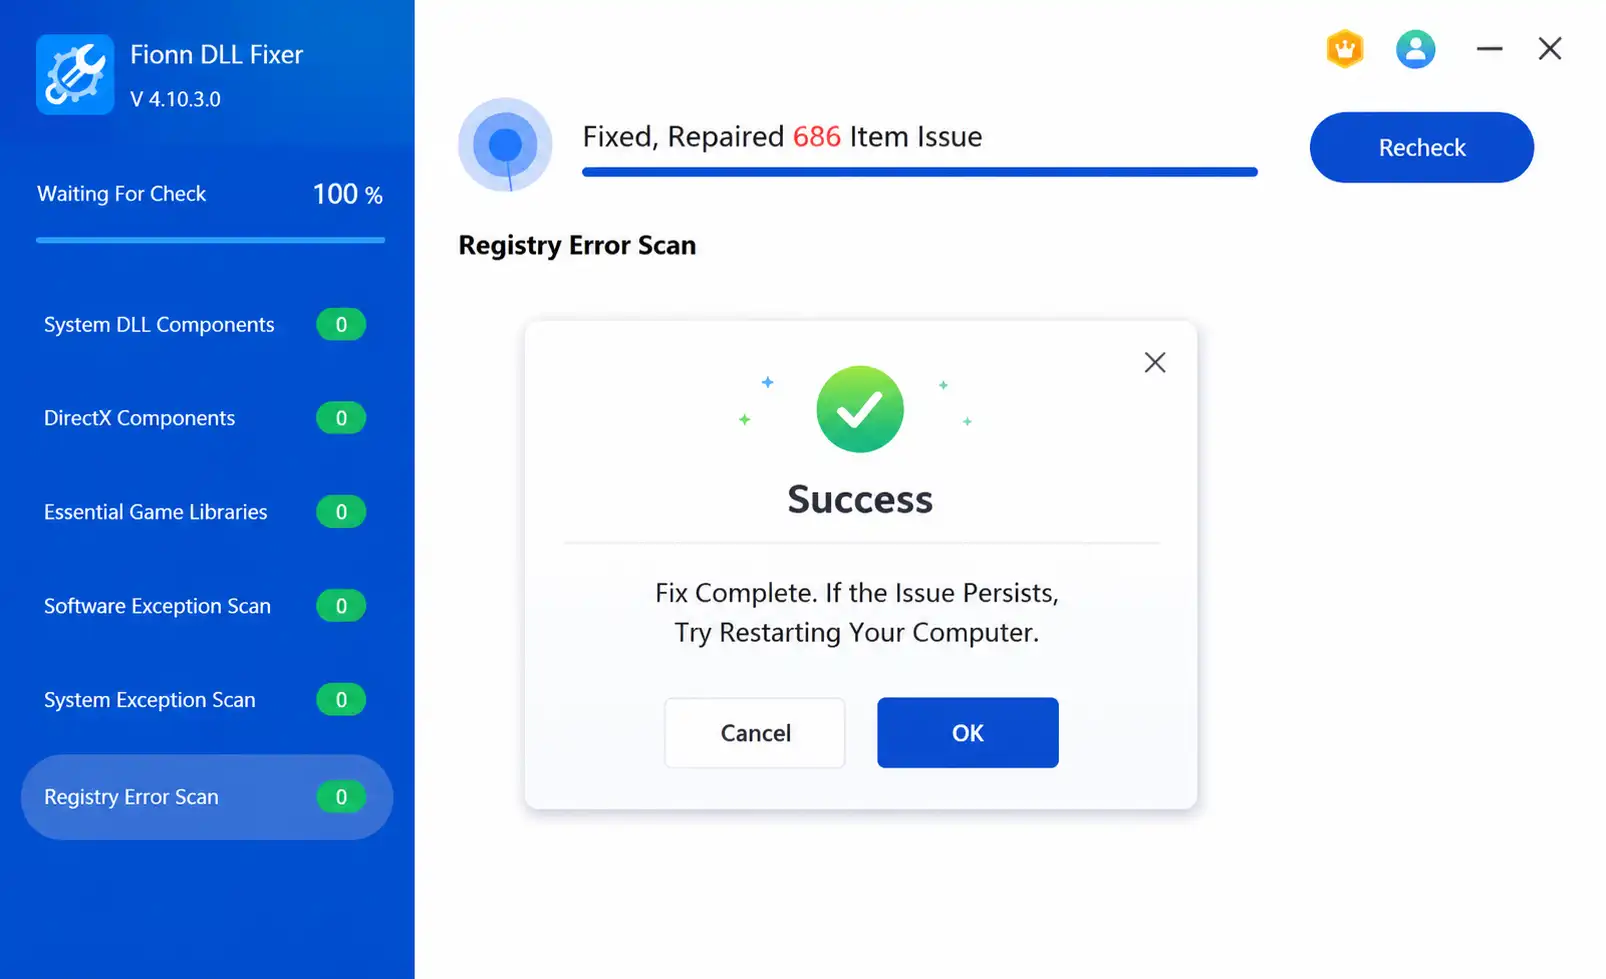
- When the repair is complete, click “Ok” in the confirmation dialog. If prompted, restart your computer before checking whether the problem has been resolved.
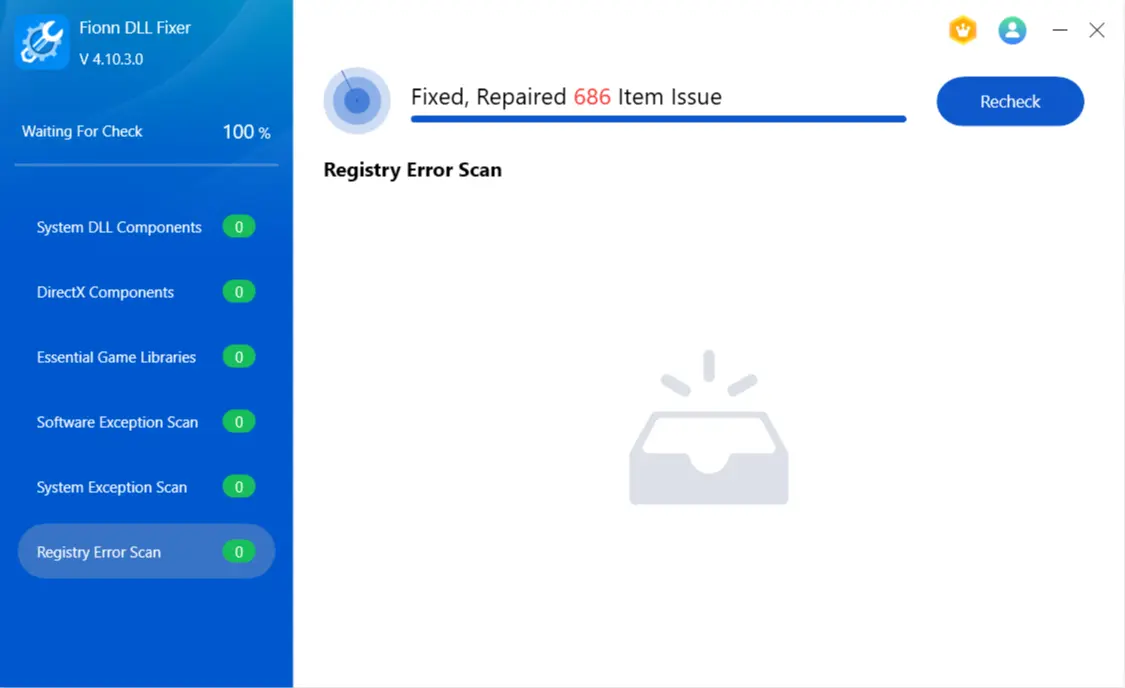
- If the issue still persists after restarting, click “Recheck” to perform another scan. If new issues are found, click “Repair” again to fix them.
How to Verify
Review the recheck results, then launch the affected application. Confirm both that the scan no longer reports the repaired issue and that the exact missing-file message is gone. If the scan is clear but the application still fails, record the complete new error and contact the application publisher or product support.
Common Mistakes to Avoid
- Treating the DirectX version as a file inventory:
dxdiagreports the core runtime version, not proof that every optional D3DX9 library is installed. - Using an unverified DLL download: restoring the complete signed runtime is safer than guessing the correct file build or architecture.
- Starting with broad Windows repairs: Windows Update, SFC, and DISM are not the first targeted choices for an optional side-by-side DirectX component.
- Ignoring changed wording: “missing,” “Bad Image,” and “entry point not found” describe different failure conditions. Follow this workflow only while the message still reports a missing file.
Conclusion
For one failing application, repair or reinstall that program first. If the same
d3dx9_43.dll
message remains—or several applications fail—install Microsoft’s official DirectX End-User Runtime and restart Windows. Verify each result by reproducing the original launch attempt, not by checking the DirectX version alone. Avoid standalone DLL downloads and manual system-folder copies. If targeted repairs fail or several dependency errors coexist, run an optional broader check with
Fionn DLL Fixer
. Contact the application publisher or support team when the error changes or persists after a clean recheck.
Frequently Asked Questions
Is d3dx9_43.dll included automatically with the latest DirectX version?
Not necessarily. Microsoft classifies
D3DX9_43.dll
as an optional side-by-side legacy DirectX SDK component. Windows can therefore report a current DirectX version while this specific library remains unavailable. The official DirectX End-User Runtime installs these optional components without changing the core runtime version.
Can I download d3dx9_43.dll by itself?
A standalone DLL download is not the recommended repair. The file may come from an untrusted source or have an incompatible build or architecture. Use the affected application’s trusted installer or Microsoft’s complete DirectX runtime package so setup can install the correct supporting components.
Why did reinstalling the application not fix the error?
The application’s installer may not include the required optional runtime, or its dependency stage may not have completed. Install Microsoft’s official DirectX End-User Runtime next. If several DLL messages remain afterward, use a broader diagnostic or contact the application publisher with the complete error text.
Will SFC or DISM restore d3dx9_43.dll?
SFC and DISM repair protected Windows components, but Microsoft documents D3DX9 libraries as optional side-by-side legacy components. They are therefore not the most targeted first step for this error. Repair the application and install the official DirectX End-User Runtime before considering broader Windows servicing.


