 Emily CarterData Recovery
Introduction
To recover a deleted essay, stop saving files to the affected drive and check the Recycle Bin first. If the essay was never saved, use your editor’s recovery feature instead. Windows File History, Windows File Recovery, and Fionn Data Recovery provide additional paths when the document is no longer accessible normally. The five methods below are arranged from the simplest check to deeper storage scanning. Follow only the method that matches how the essay disappeared.
What to Do Before Recovering a Deleted Essay
A deleted file can become harder to recover after new data occupies its former storage space. Avoid installing software, downloading files, or saving new work to the affected drive. If the essay was on a USB drive or memory card, disconnect that device until you are ready to recover it.
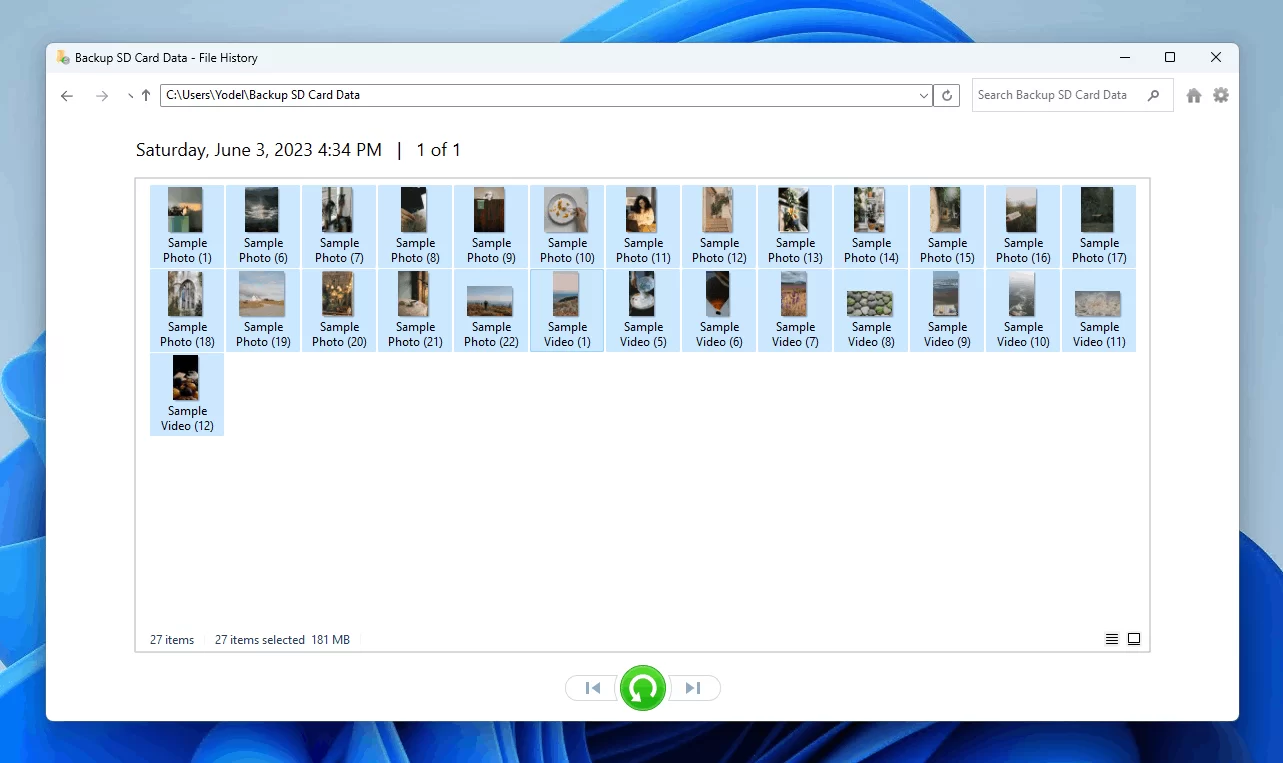
First identify the symptom. A file intentionally deleted through File Explorer may be in the Recycle Bin. An essay lost after a crash or an accidental “Don’t Save” action requires an application-specific check. A permanently deleted file may require a backup or storage scan.
Choose the Right Method
| Method | Best For | Efficiency | User Effort |
|---|---|---|---|
| Recycle Bin | Recently deleted local files | Immediate when available | Low |
| Word recovery | Unsaved work or a crash | Fast if a recovery copy exists | Low |
| File History | Files backed up before deletion | Fast with a valid backup | Low |
| Windows File Recovery | Permanently deleted local files | Varies by drive and scan mode | High |
| Fionn Data Recovery | Deleted documents needing visual filtering and preview | Quick, deep, and RAW scan options | Moderate |
Method 1: Restore the Essay from the Recycle Bin
When to use: Choose this method when you deleted a saved essay from a local Windows folder and have not emptied the Recycle Bin.
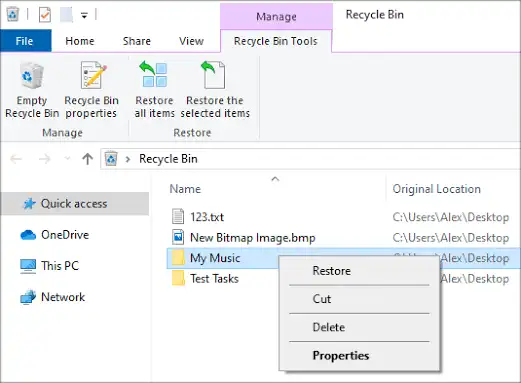
- Open Recycle Bin from the desktop.
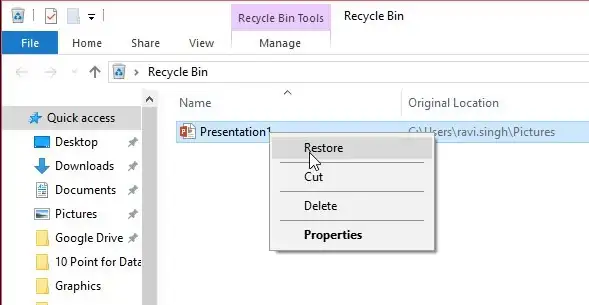
- Search for the essay’s filename or sort the items by deletion date.
- Right-click the matching document and select Restore.
- Open the essay from its original folder and confirm that its latest saved content is present.
Verification: The restored file should open from its original location. If it does not appear, search File Explorer by part of its name and document extension.
Method 2: Recover an Unsaved Essay in Microsoft Word
When to use: Use this method when Word closed unexpectedly or the essay was never saved as a normal file. It does not replace recovery for a previously saved document that was permanently deleted.
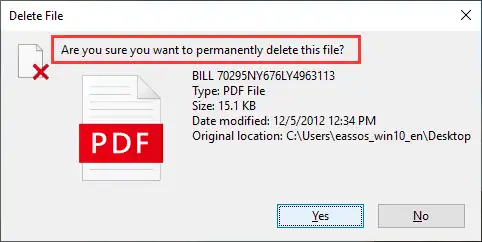
- Reopen Word and inspect the Document Recovery pane if it appears.
- Open the copy with the most recent useful timestamp.
- If no pane appears, select File > Info > Manage Document > Recover Unsaved Documents.
- Open the likely document and immediately select Save As.
Verification: Review the final paragraphs and word count, then save a second copy under a clear filename.
Microsoft notes that choosing Don’t Save when closing can remove the AutoRecover copy. See Microsoft’s official instructions for recovering an earlier Word file.
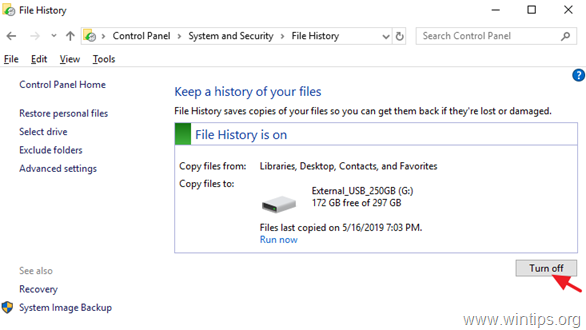
Method 3: Restore the Essay with File History
When to use: File History is appropriate only when it was enabled before the essay disappeared and protected the folder containing the document.
- Open File Explorer and navigate to the folder that previously contained the essay.
- Right-click the folder and select Restore previous versions.
- Select a version created before the essay was deleted.
- Use Open in File History to check whether that version contains the document.
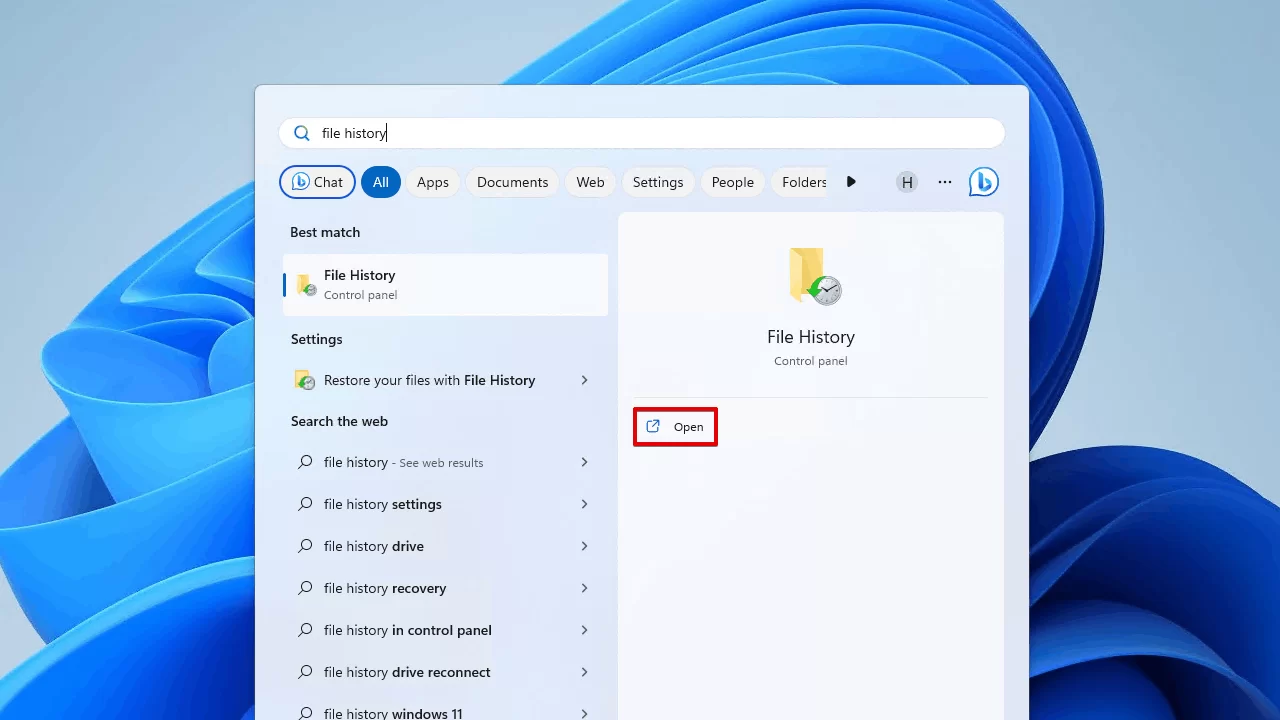
- Select Restore to and choose a separate folder to avoid replacing current files.
Verification: Open the restored essay and compare its modification time and contents with any remaining copies.
Detailed interface guidance is available in Microsoft’s File History backup and restore documentation.
Method 4: Recover the Essay with Windows File Recovery
When to use: This command-line method suits a permanently deleted file when no usable backup exists. It requires a destination drive different from the source drive.
- Install Windows File Recovery using Microsoft’s official instructions.
- Connect an external drive to hold the recovered files.
- Open Windows File Recovery and run a filtered recovery command using the correct source and destination drive letters.
winfr C: E: /regular /n *.docx /n *.doc /n *.txt /n *.rtf - Confirm the prompt and wait for the recovery attempt to finish.
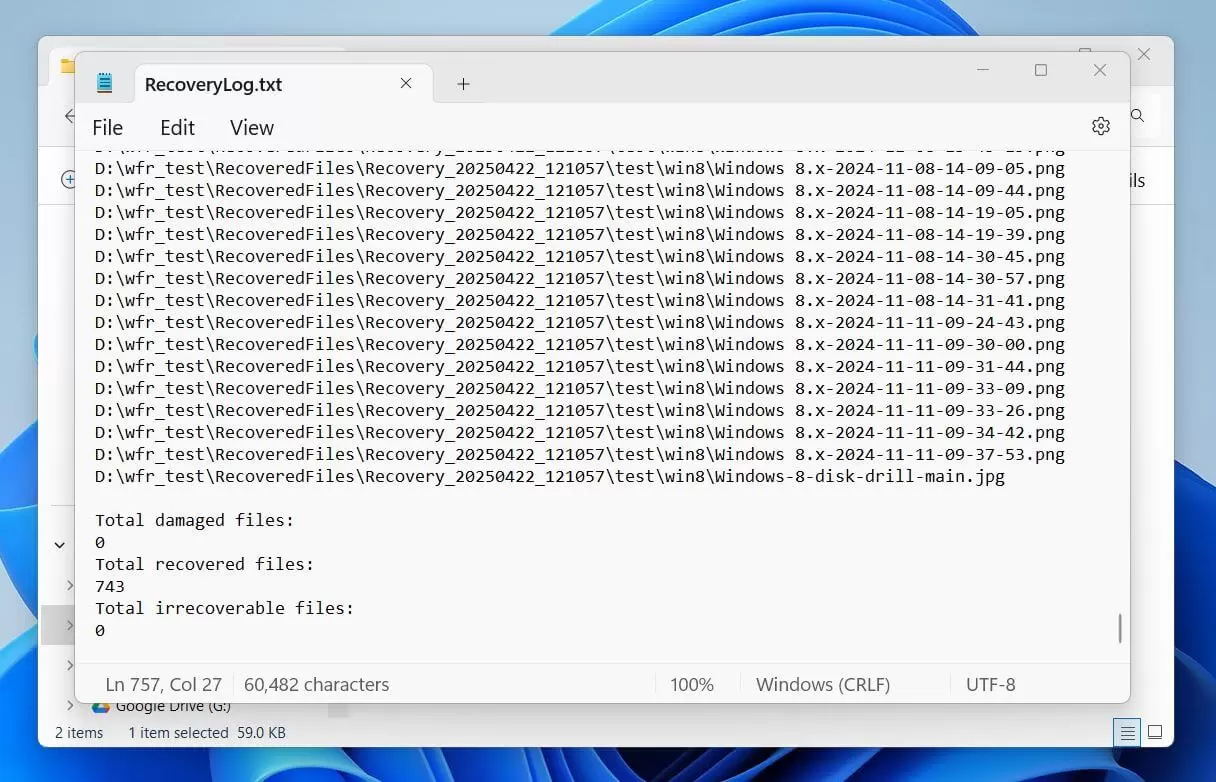
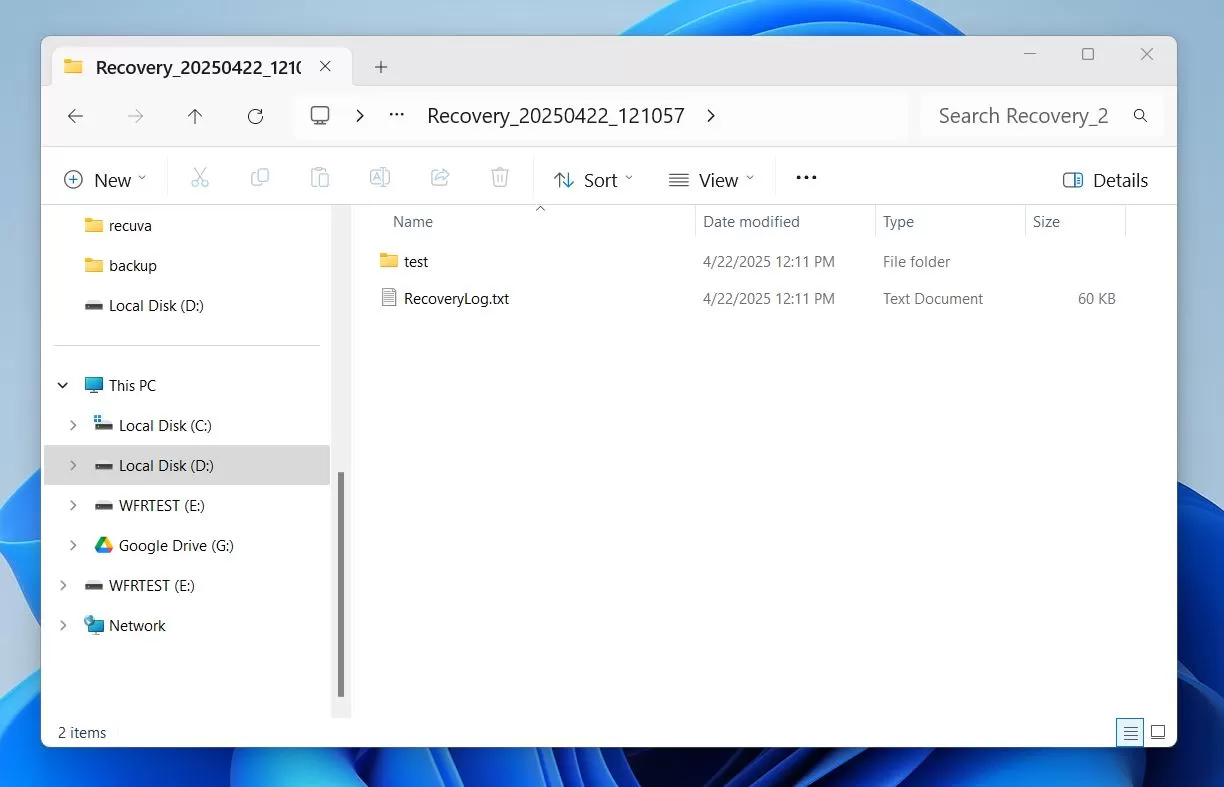
- Inspect the recovery folder created on the destination drive.
- If Regular mode finds nothing, repeat the attempt using Extensive mode as documented by Microsoft.
Verification: Open candidate documents only from the destination drive and check their text, formatting, and modification details.
Replace C: with the source and E: with the destination. Microsoft states that the source and destination must differ. Recovery may fail if storage space holding the essay has already been overwritten, particularly on an SSD.
Method 5: Recover a Deleted Essay with Fionn Data Recovery
When to use: This is a practical option when the essay was deleted or the Recycle Bin was emptied, especially when visual search, filtering, and preview can help identify the correct document. The application scans locally in read-only mode and does not upload files.
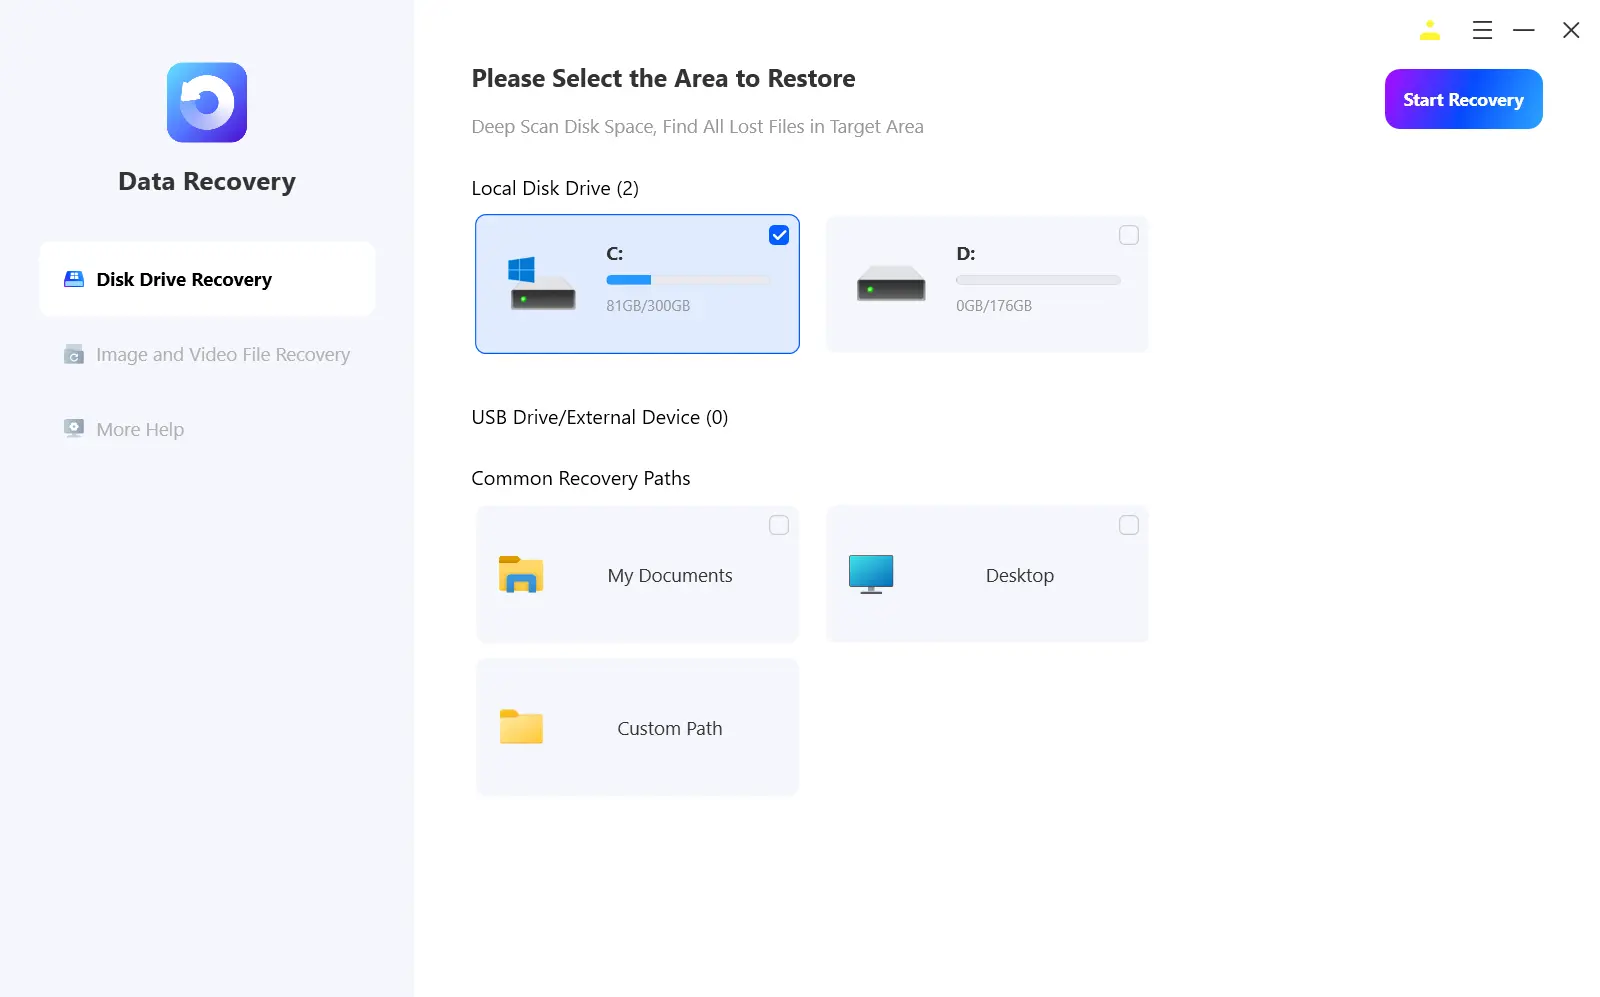
- Launch Fionn Data Recovery and select the recovery option for the type of data or storage location you want to recover.
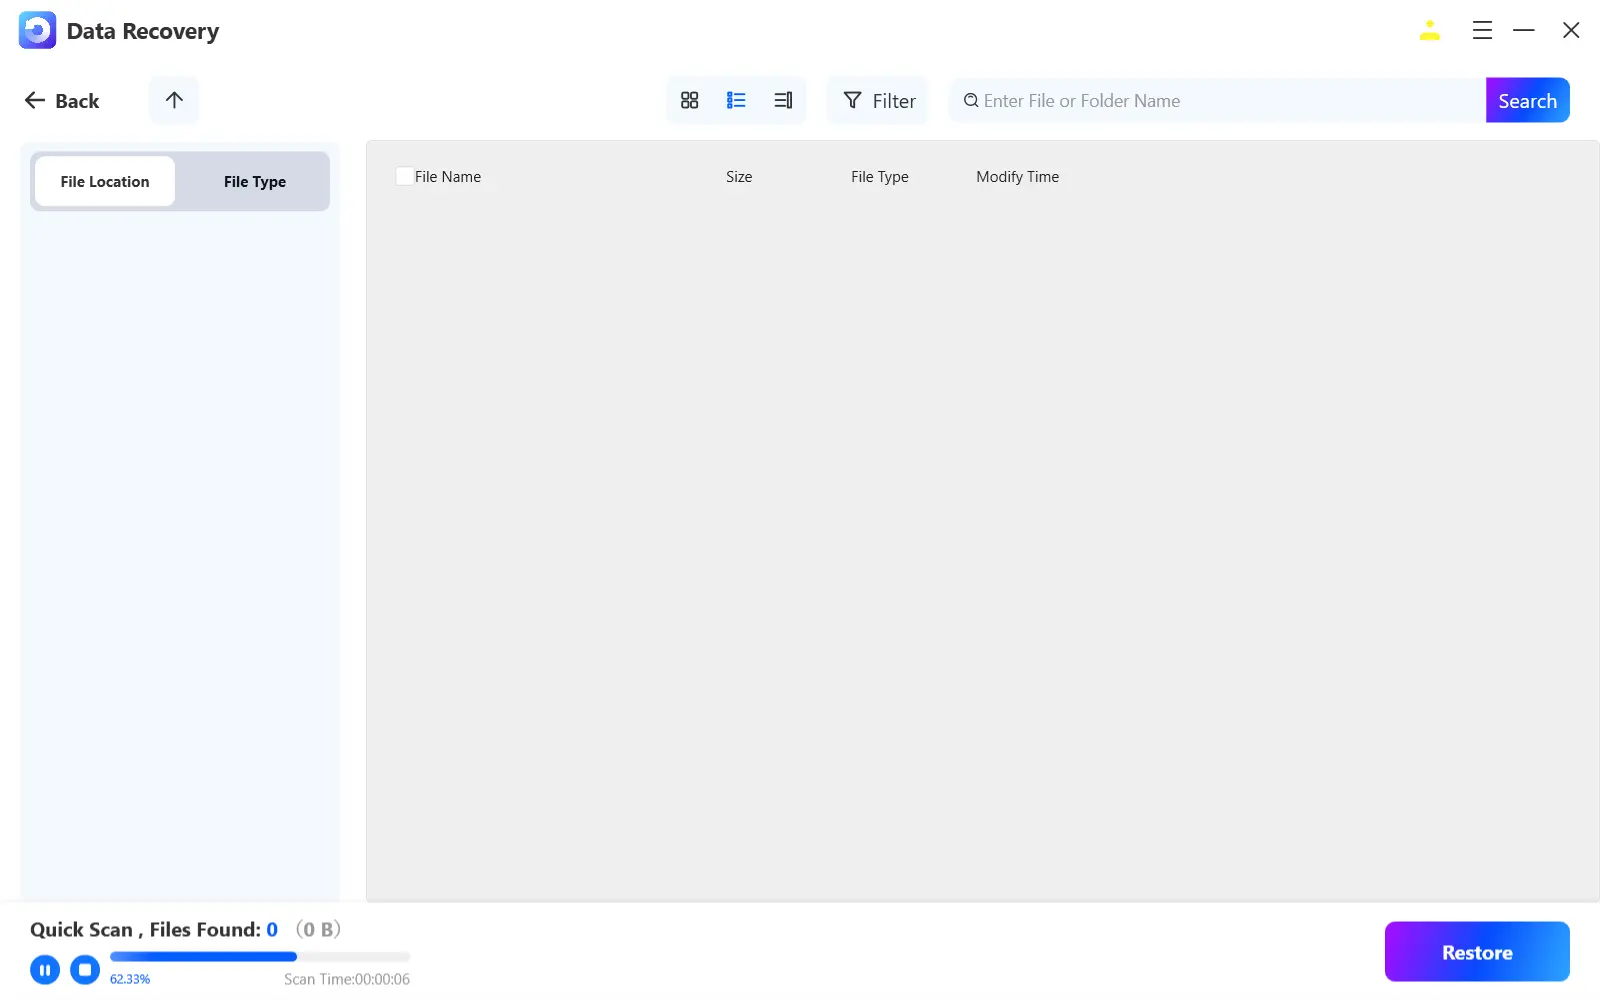
- Start the automatic scan and wait while Fionn Data Recovery searches the selected location for deleted or lost files.
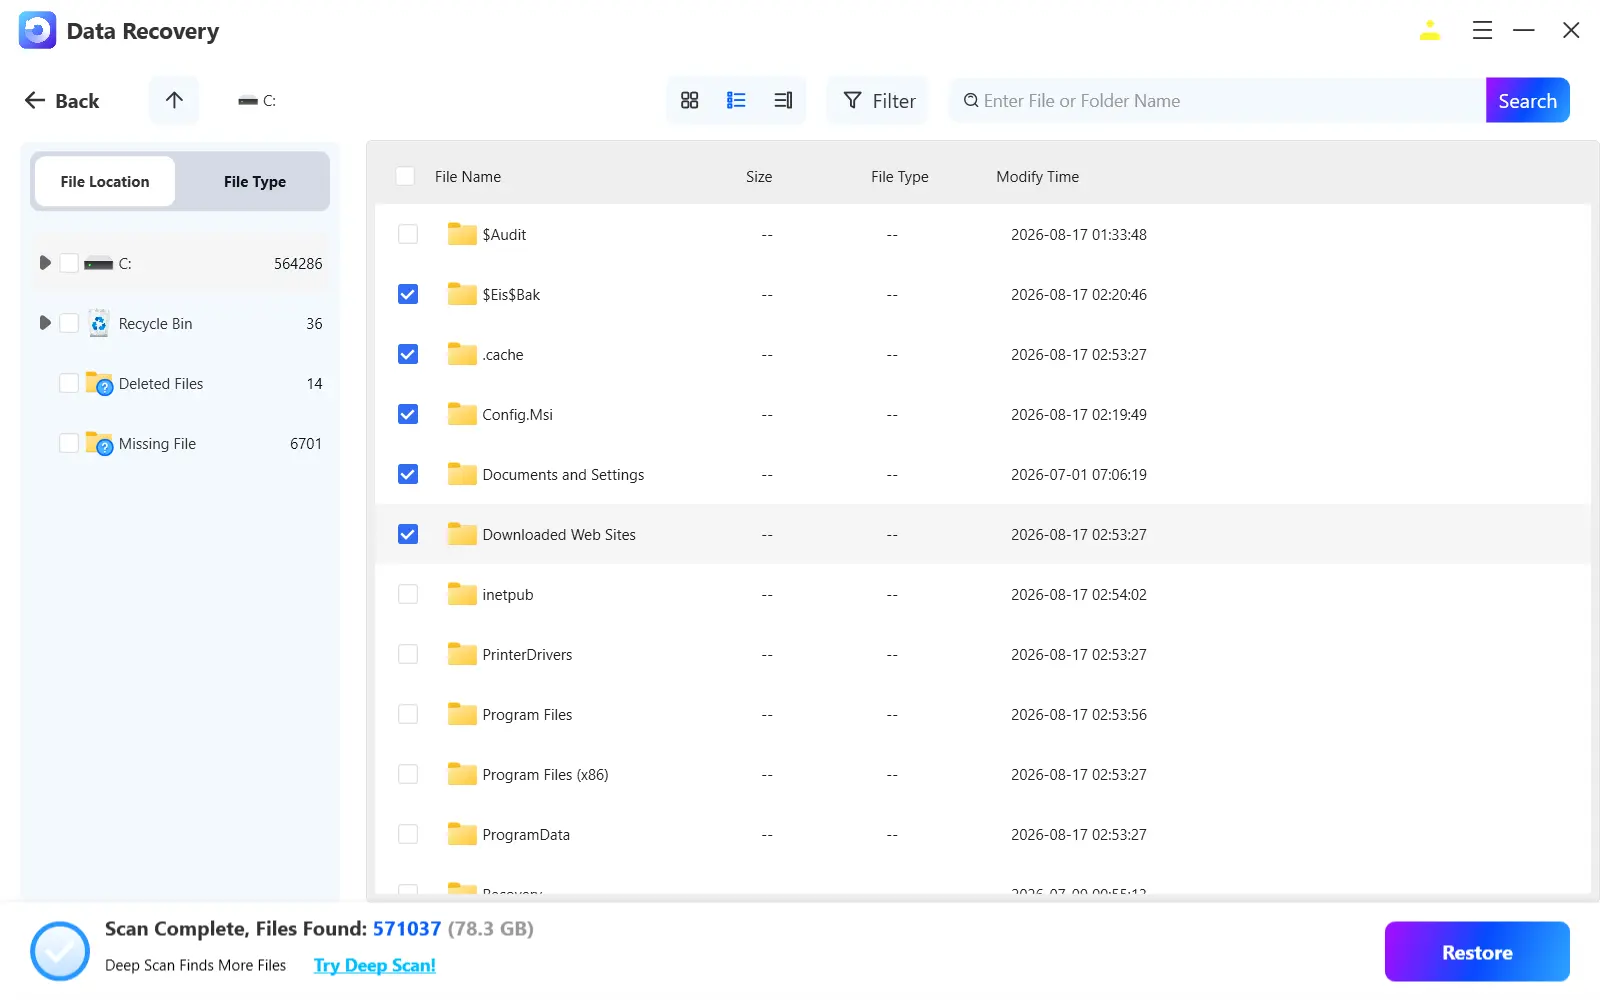
- After the scan finishes, browse the results and preview the files to select the data you want to restore.
- Select a destination folder to save the recovered files, then start the recovery process.
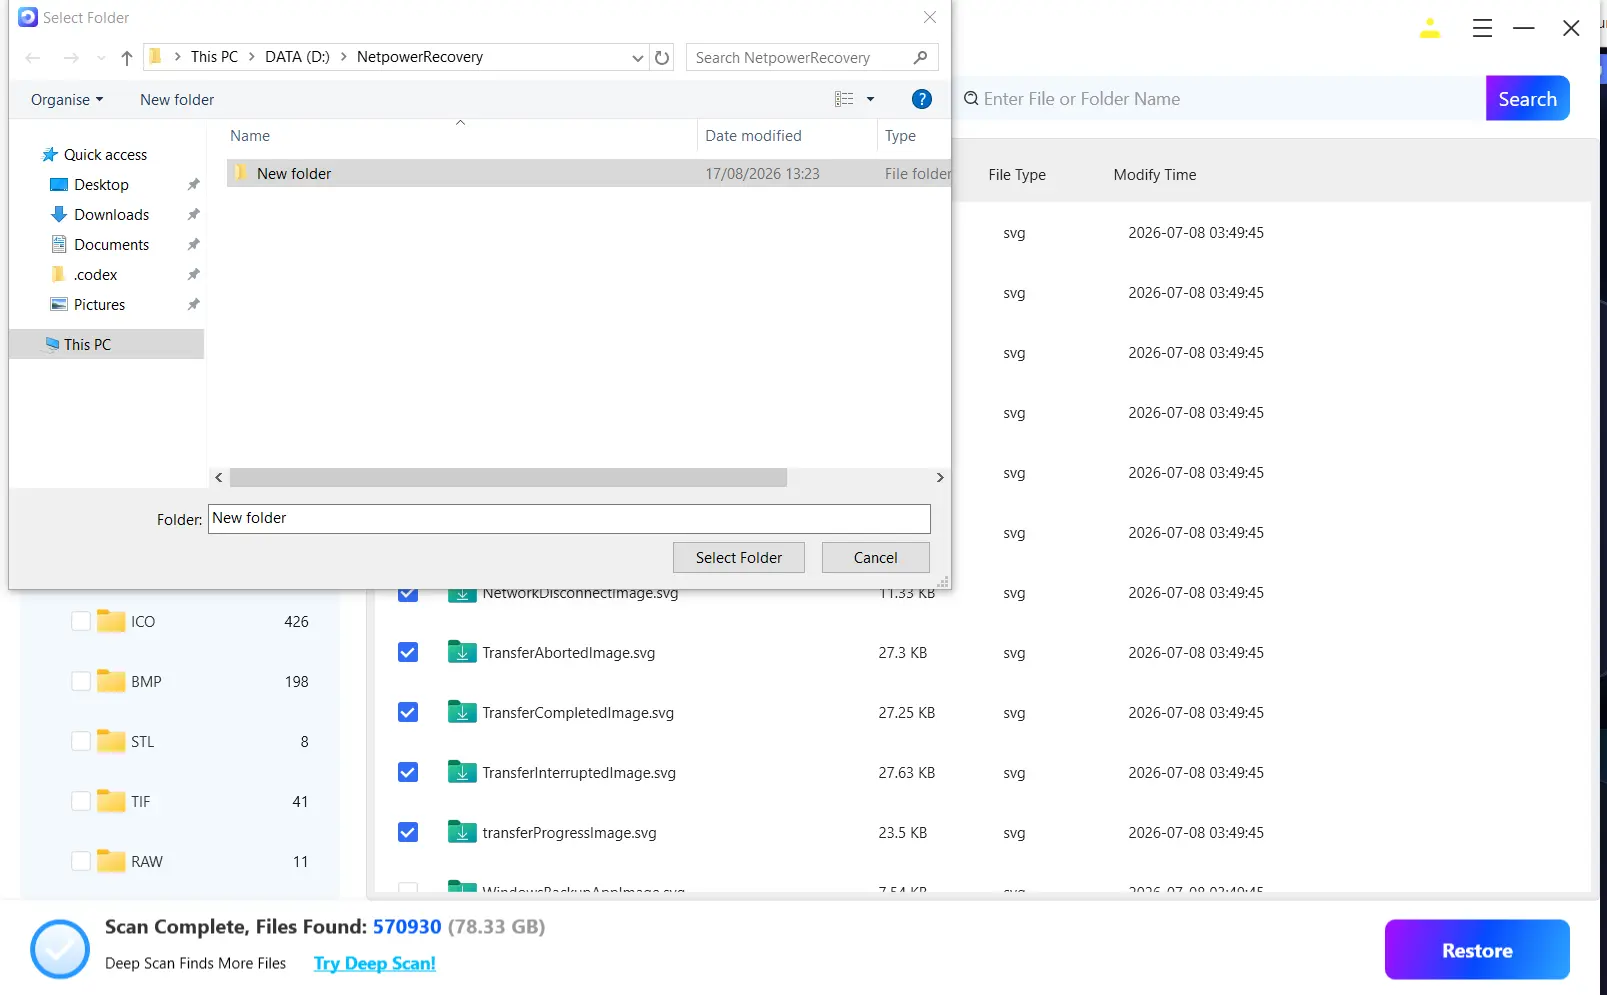
Verification: Open the recovered copy from the destination folder. Confirm that the essay has readable text, the expected length, and the correct revision.
The available scan modes include quick, deep, and file-signature-based RAW scanning. Results can be filtered by filename, location, type, time, and size. Previewing a candidate before recovery helps distinguish the essay from temporary or older document copies.
Tips That Improve Your Recovery Chances
- Search for likely extensions such as
.docx,.doc,.txt,.rtf, and.pdf. - Check whether the essay was renamed or moved before assuming it was deleted.
- Compare timestamps and content instead of trusting the filename alone.
- Preserve every plausible recovered copy until the correct revision is verified.
- Enable File History or another versioned backup after recovery.
Conclusion
Start with the Recycle Bin because it preserves the original file without scanning. Use Word recovery for unsaved work, then check File History if backups were enabled. For permanent deletion, use Windows File Recovery or scan the source location with Fionn Data Recovery. Verify success by opening the recovered essay, checking its ending, and saving a confirmed copy on another drive. If no method finds a usable document, stop using the source device and consider a qualified data-recovery service when the essay is irreplaceable.
Frequently Asked Questions
Can I recover an essay after emptying the Recycle Bin?
Possibly. A backup, Windows File Recovery, or a local data-recovery scan may find the document if its storage space has not been overwritten. Stop writing to the source drive and save any recovered copy elsewhere.
Can System Restore recover a deleted essay?
System Restore is designed primarily for system state, applications, and settings. It is not the preferred tool for restoring an individual deleted essay. Use the Recycle Bin, File History, application recovery, or file-recovery scanning instead.
What if the essay appears in Word’s Recent list but will not open?
A Recent entry can point to a file that was moved, renamed, or deleted. Search Windows for the filename, check the original folder and Recycle Bin, and then try the recovery method matching the loss scenario.
Why should I recover the essay to another drive?
Saving to the source drive may write over storage space that still contains deleted data. A different destination protects the source during the recovery attempt and keeps recovered output separate from candidate files.
Does recovery preserve the latest version of my essay?
Not necessarily. Recycle Bin restoration usually returns the last saved file, while AutoRecover or File History may contain a different revision. Compare timestamps, final paragraphs, formatting, and word count before treating a recovered copy as complete.
Recover the Missing Document
If built-in recovery paths do not contain the essay, run a local scan before resuming normal use of the affected drive. Preview candidate files and restore the correct copy to a different destination.


