 Emily CarterScreen Recording
Introduction
To record a screen without lag, lower the work your PC must do at one time: capture a smaller area when possible, choose a frame rate your system can sustain, and avoid recording while other demanding tasks run. Start with the quick preparation method below, then use Xbox Game Bar for a single app, OBS Studio when you need deeper control, or Fionn Screen Recorder for a guided Windows recording workflow. This guide covers four practical methods and shows how to verify the result.
Quick Method Comparison
| Method | Best For | Efficiency | User Effort |
|---|---|---|---|
| Reduce capture load | Any recorder that suddenly stutters | High | Low |
| Xbox Game Bar | Capturing one Windows app or game | High | Low |
| OBS Studio | Users who need to tune output settings | Variable | Medium |
| Fionn Screen Recorder | Windows recordings with selectable capture area and frame rate | High | Low |
Use the preparation method first if every recorder lags. Choose Xbox Game Bar for a quick app capture. Choose OBS when you already use its output controls. Use Fionn Screen Recorder when its capture choices fit your recording task.
Method 1: Reduce Capture Load Before Recording
When to use: The preview, recording, or both become choppy when you capture a full display, a game, or a browser-based meeting.
- Close games, browsers, sync clients, and other apps that are not needed for the recording.
- Choose a window or a smaller region instead of the entire desktop when the recording does not need the full display.
- Set the recorder to a frame rate that your PC can maintain; use 24 or 30 FPS for tutorials and presentations before trying 60 FPS.
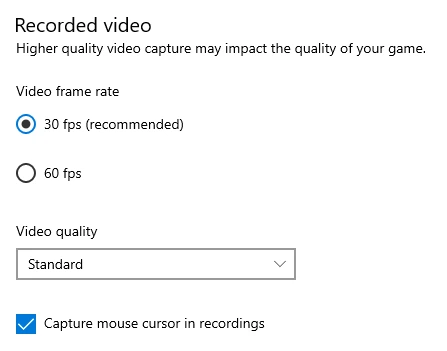
- Lower video quality or resolution one step if the saved recording drops frames.
- Record a short test clip and play it back before starting the full session.
Verification: In the test clip, cursor movement and audio should remain continuous, and the recording should not pause while the source application is active.
Method 2: Record One App with Xbox Game Bar
When to use: You need a quick recording of a supported app or game and do not need to capture the full Windows desktop.
- Open the app or game you want to capture.
- Press
Windows logo key + Gto open Xbox Game Bar.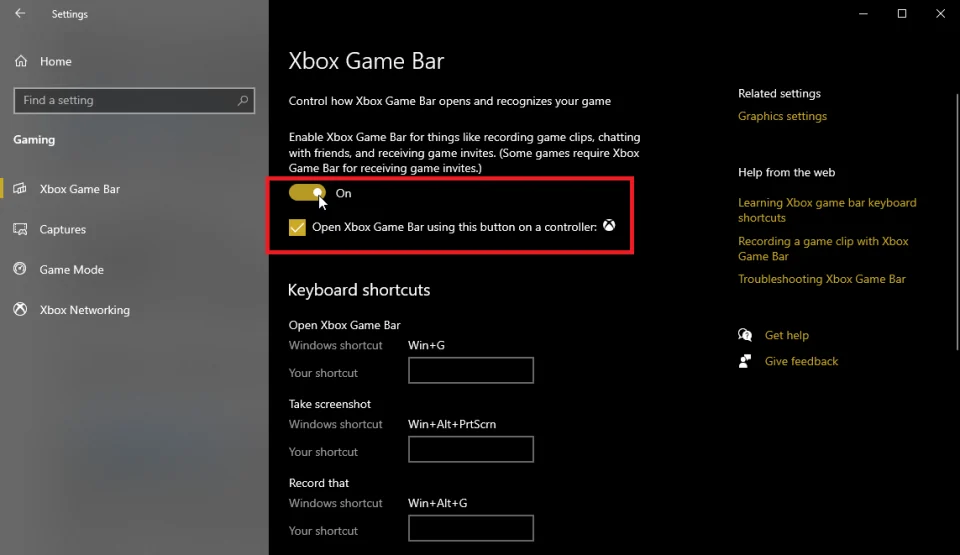
- Use the Capture widget to start recording.
- Work in the target app, then stop the recording from the capture controls.
- Open the saved clip and check motion and audio before recording a longer session.
Microsoft documents Xbox Game Bar as a way to record clips from a game or app, and notes that it does not record the Windows desktop or File Explorer. See Microsoft’s Xbox Game Bar recording instructions for its current controls.
Verification: The saved clip contains the intended application, with no desktop content expected outside the supported capture scope.
Method 3: Tune OBS Studio for Your Workload
When to use: You use OBS Studio and need to balance resolution, frame rate, and encoder workload for a particular PC.
- Open OBS Studio and select the scene and source you intend to record.
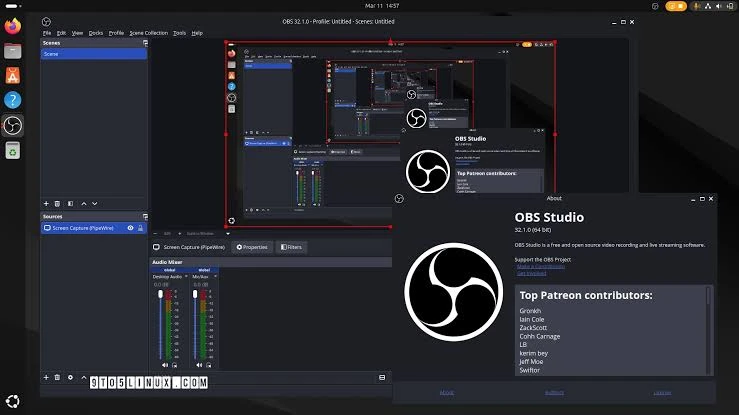
- Open
Settings > Outputand select an encoder available on your system.
- Open
Settings > Videoand set a base and output resolution appropriate for the content. - Set the common FPS value to 30 for a troubleshooting test, then increase it only if the test recording remains smooth.
- Record a short sample, review it, and adjust one setting at a time if lag remains.
OBS provides separate Output and Video settings, including encoder and frame-rate controls. Consult the official OBS Quick Start Guide for the current setup flow.
Verification: Compare each short test recording at the same playback speed and keep the lowest-demanding settings that meet your quality needs.
Method 4: Fix Screen Recording Lag with Fionn Screen Recorder
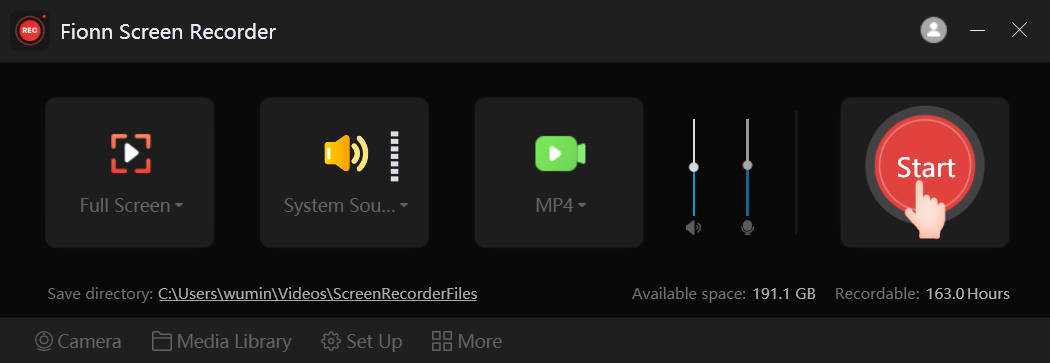
Recommended option when its capture workflow fits your task. Use it on Windows when you want selectable full-screen, window, or region capture, adjustable frame rate, and capture-mode options. For a first smoothness test, use a smaller capture area when it fits the task and begin at 24 FPS, which the interface recommends.
- Open Fionn Screen Recorder and choose the area you want to capture: Full Screen, Window, or Region.
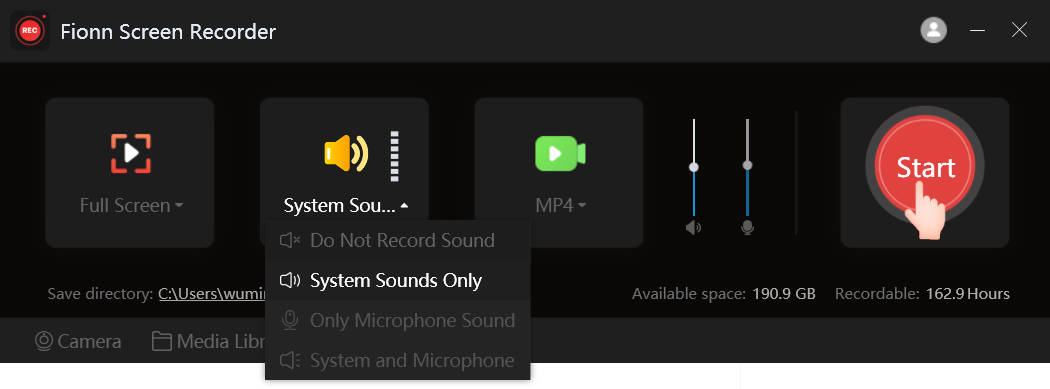
- Choose whether to record system audio, microphone audio, both, or no sound.
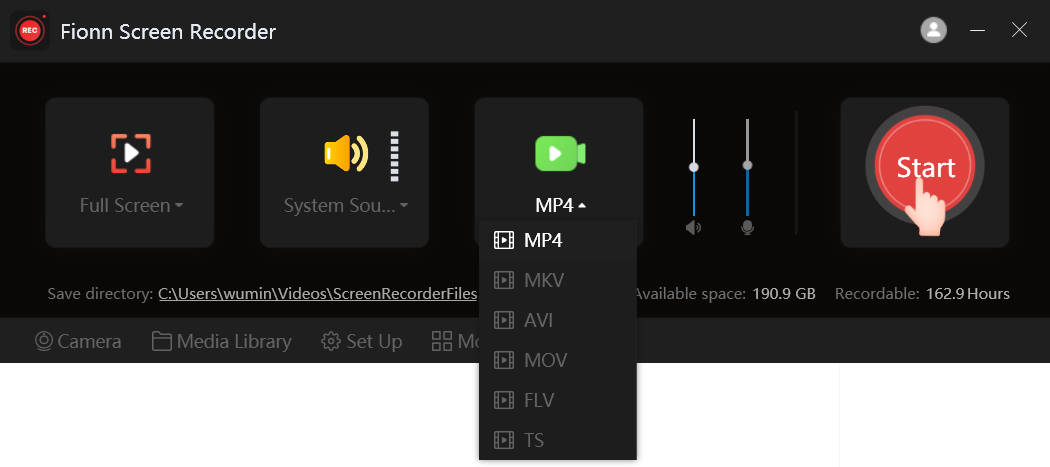
- Select MP4 or another video format before you start recording.
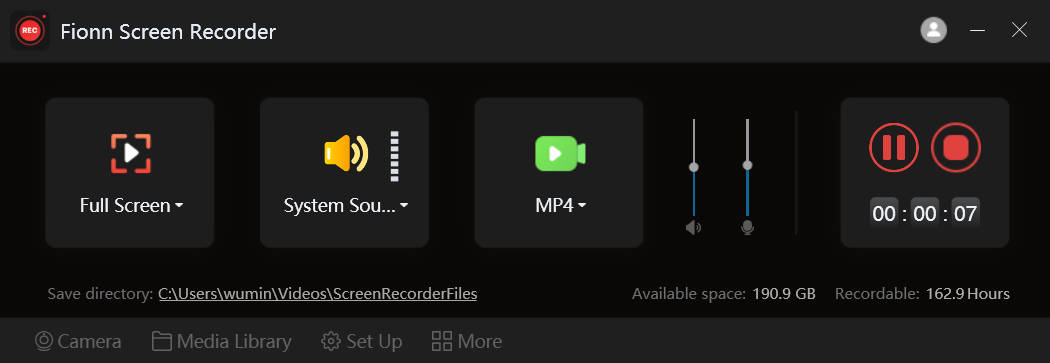
- Click Start to begin recording, then use Pause or Stop when you are finished.
- Open Media Library to play, edit, locate, or delete your recorded videos.
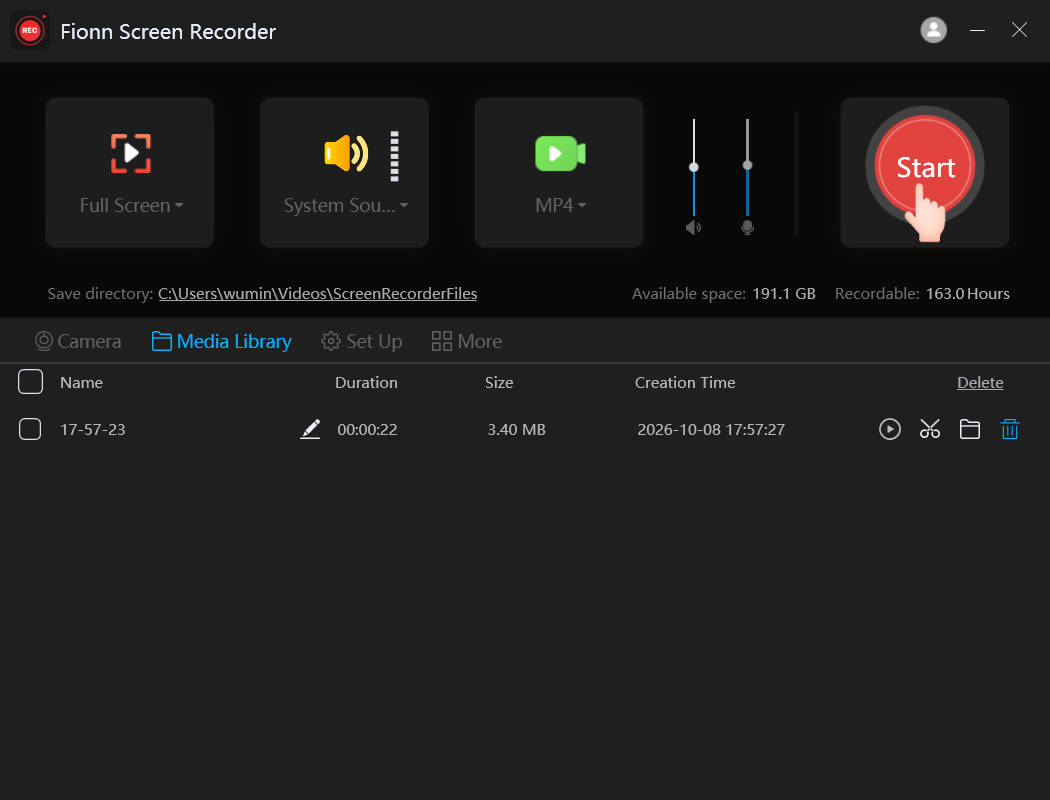
Verification: Play the file from Media Library and check that motion, voice, and system audio stay aligned. If it still stutters, reduce the selected capture area or frame rate before the next test.
Conclusion
Start by reducing the capture load: close competing apps, record only the area you need, and test at 24 or 30 FPS. Use Xbox Game Bar for a supported single-app capture, or tune OBS Studio when you need direct output controls. For a Windows workflow with capture-area and frame-rate choices, Fionn Screen Recorder is a practical option. Verify every change with a short playback test; if stutter continues across recorders, reduce the capture demand further and check what else is consuming system resources.
FAQ
Why does my screen recording lag while the app looks normal?
Recording adds capture, encoding, memory, and storage work. An app can remain usable while the recorder cannot sustain the chosen resolution, frame rate, or capture area.
Is 60 FPS necessary for screen recording?
No. It can be useful for fast gameplay, but 24 or 30 FPS is often enough for tutorials, demos, and presentations and usually places less demand on the system.
Should I record the whole screen or a window?
Choose a window or region when it contains all needed content. Capturing fewer pixels can reduce the recording workload and also limits accidental capture of notifications.
Why does audio drift from video in a recording?
Audio drift can appear when the system cannot keep up with real-time capture and encoding. Reduce recording demand, make a short test, and review whether the new file stays synchronized.


