 Emily CarterData Recovery
Introduction
How to recover files after emptying Recycle Bin depends on whether another copy exists or deleted data remains on the drive. Stop writing to the affected disk first because new data can overwrite recoverable space. This guide presents four methods in order: check File History or backups, try Windows File Recovery, look for cloud or external copies, then use the recommended Fionn Data Recovery workflow. Verify every recovered file from a separate destination disk.
Quick Method Comparison
| Method | Best For | Efficiency | User Effort |
|---|---|---|---|
| File History or backup | A backup existed before deletion | High | Low |
| Windows File Recovery | No backup and command-line experience | Variable | High |
| Cloud or external copy | A synchronized or duplicate copy exists | High | Medium |
| Recommended: Fionn Data Recovery | No usable backup; scan the affected device | Variable | Low |
Method 1: Check File History or Backups
When to use: Start here if File History, Windows Backup, a network location, or another backup was configured before the Recycle Bin was emptied.
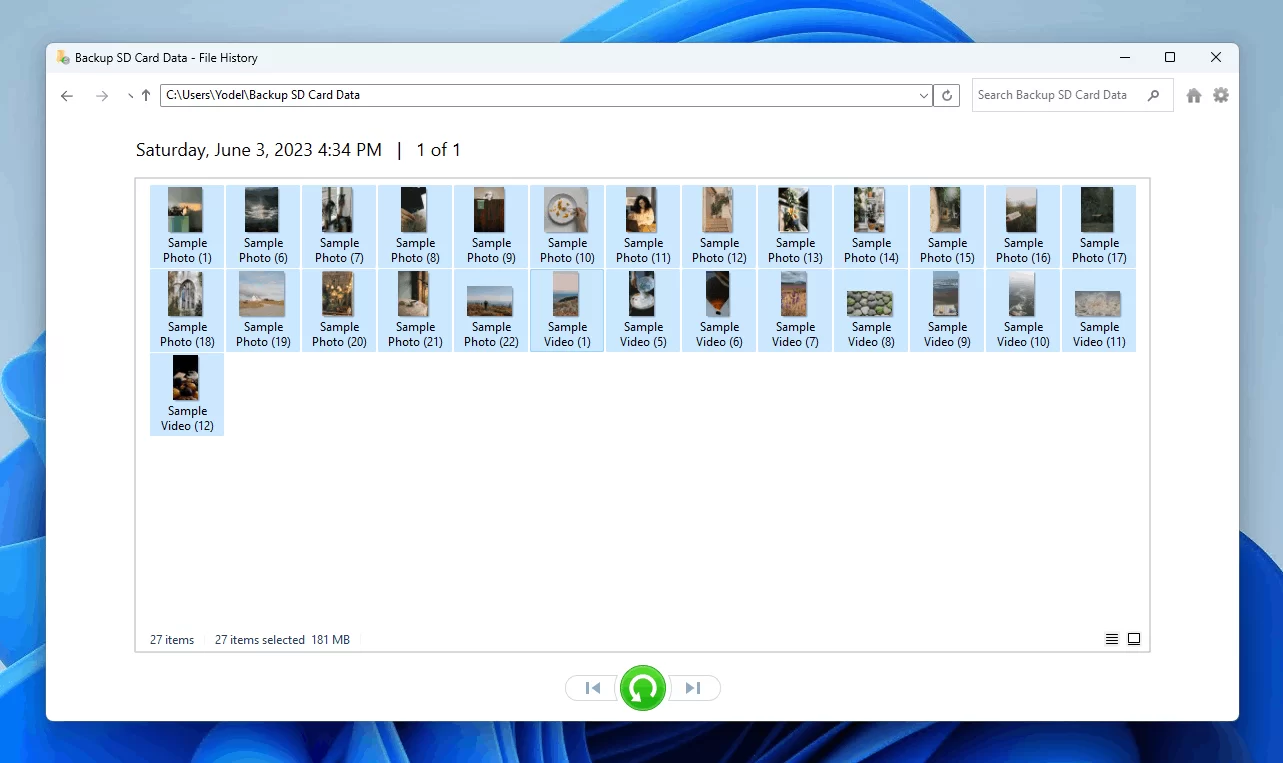
- Open the backup location or connect the backup drive without copying new data to the affected disk.
- Browse to the folder that contained the deleted file.
- Choose a version dated before deletion and select the restore command.
- Save the restored copy to a different disk, then open it to verify its contents.
Expected result: The original file or an earlier version is restored without scanning deleted sectors.
Method 2: Use Windows File Recovery
When to use: Use this command-line utility when no backup is available and you can identify separate source and destination drives.
- Install Windows File Recovery on a working Windows account.
- Connect a destination drive and note its drive letter; never use the source drive as destination.
- Open Windows Terminal as an administrator.
- Run a command that targets the source drive and writes results to the destination:
winfr C: E: /regular /n \Users\<username>\Documents\report.docx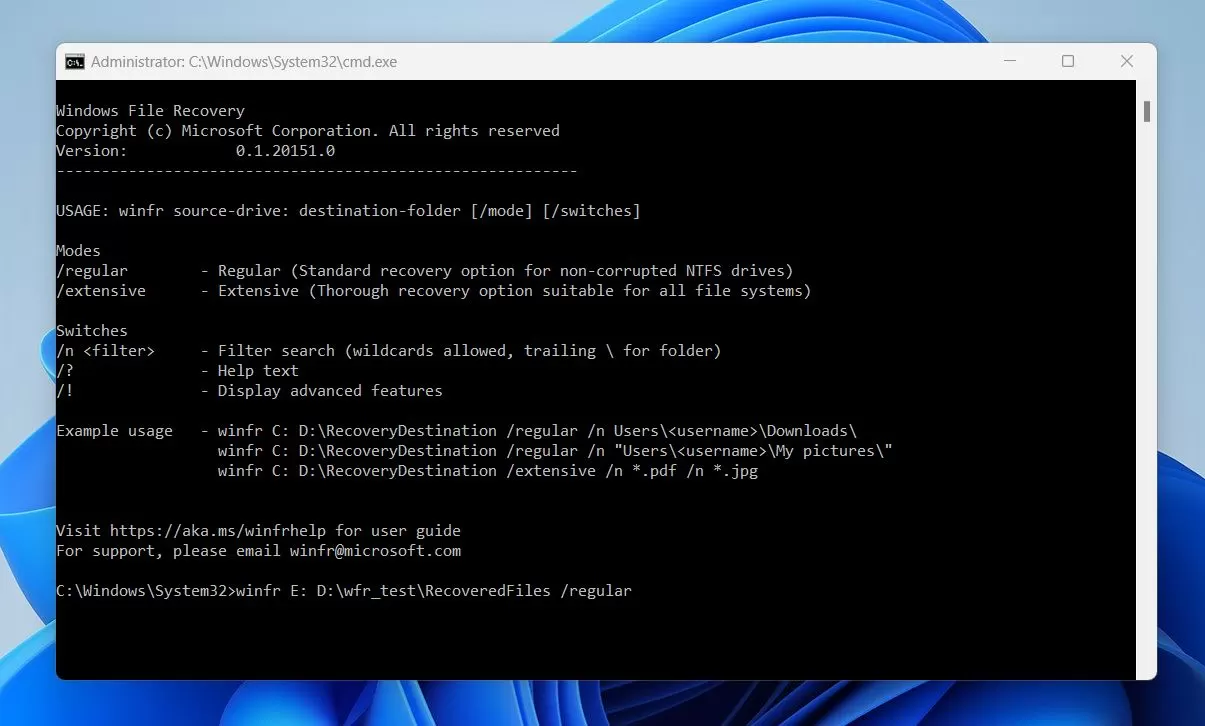
- Review the recovery folder created on the destination drive.
- Open recovered files and confirm their names, size, and content.
Note: Replace the drive letters and path for your case. A regular scan may require another mode when it finds nothing.
Method 3: Restore From Cloud or External Copies
When to use: Choose this when the file was synchronized or duplicated elsewhere before deletion.
- Check the service’s recycle or deleted-items area from its official app or website.
- Search synchronized folders, shared folders, email attachments, and external drives for another copy.
- Download or copy the file to a different local disk.
- Open the copy and compare its contents with what you need.
Expected result: A duplicate is recovered without reading deleted sectors.
Method 4: Fix files after emptying Recycle Bin with Fionn Data Recovery
When to use: This recommended option fits cases without a usable backup when you need a guided scan of a local disk, external hard drive, USB drive, SD card, or camera card.
- Launch Fionn Data Recovery and select the recovery option for the type of data or storage location you want to recover.
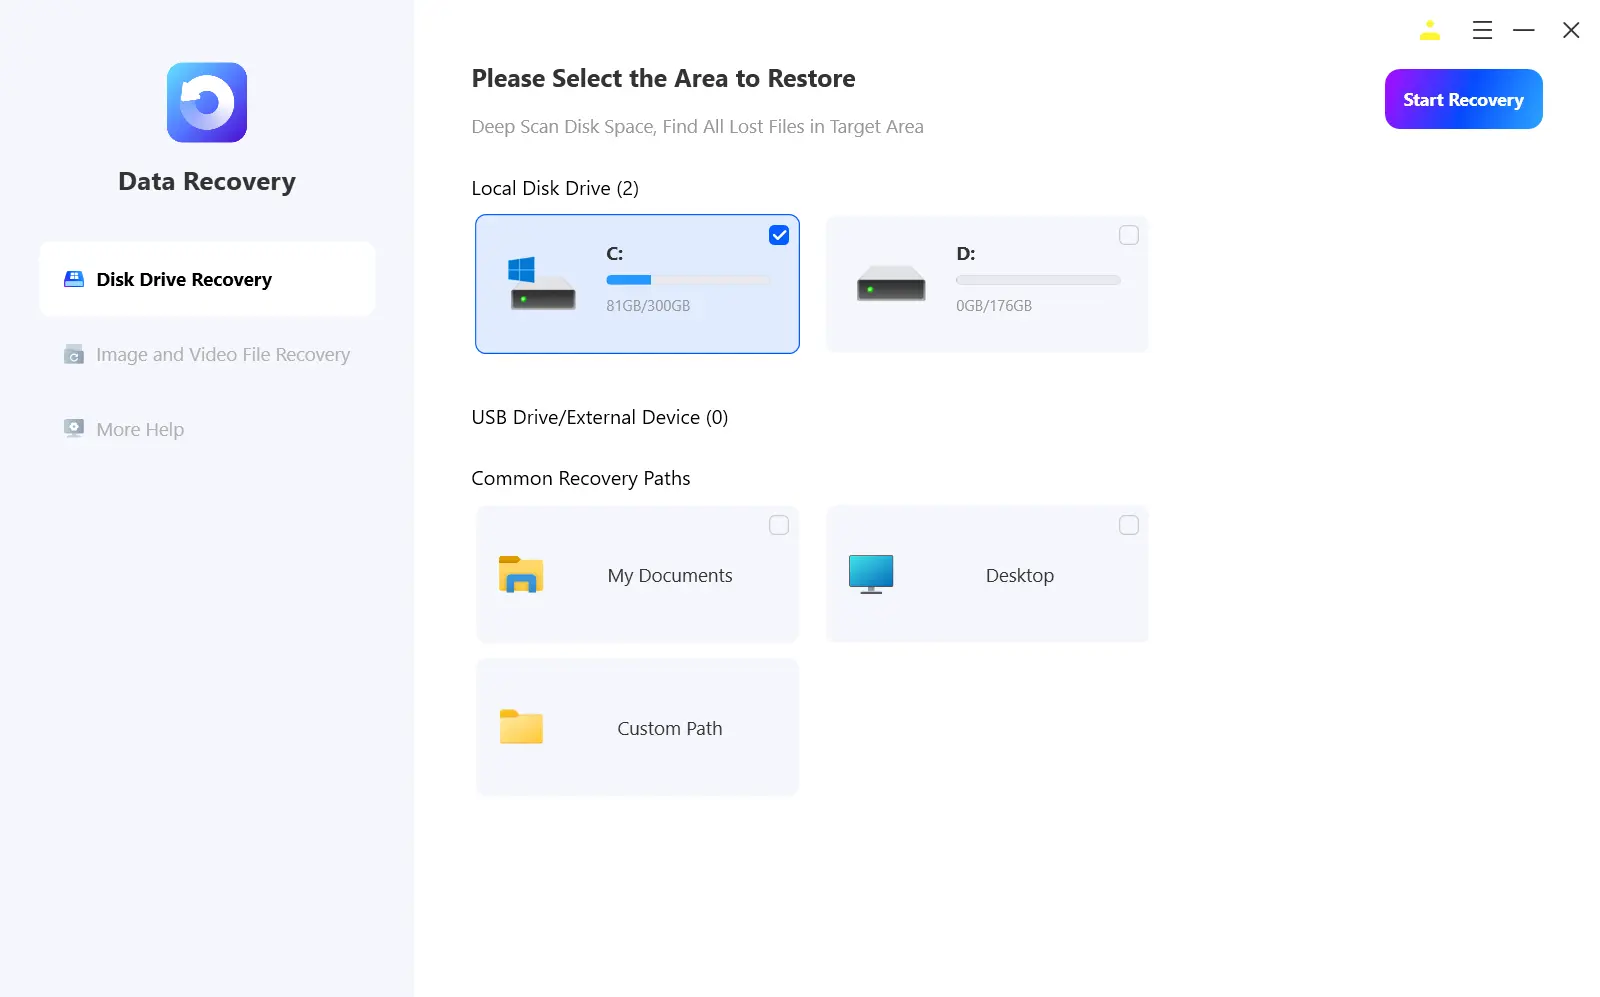
- Start the automatic scan and wait while Fionn Data Recovery searches the selected location for deleted or lost files.
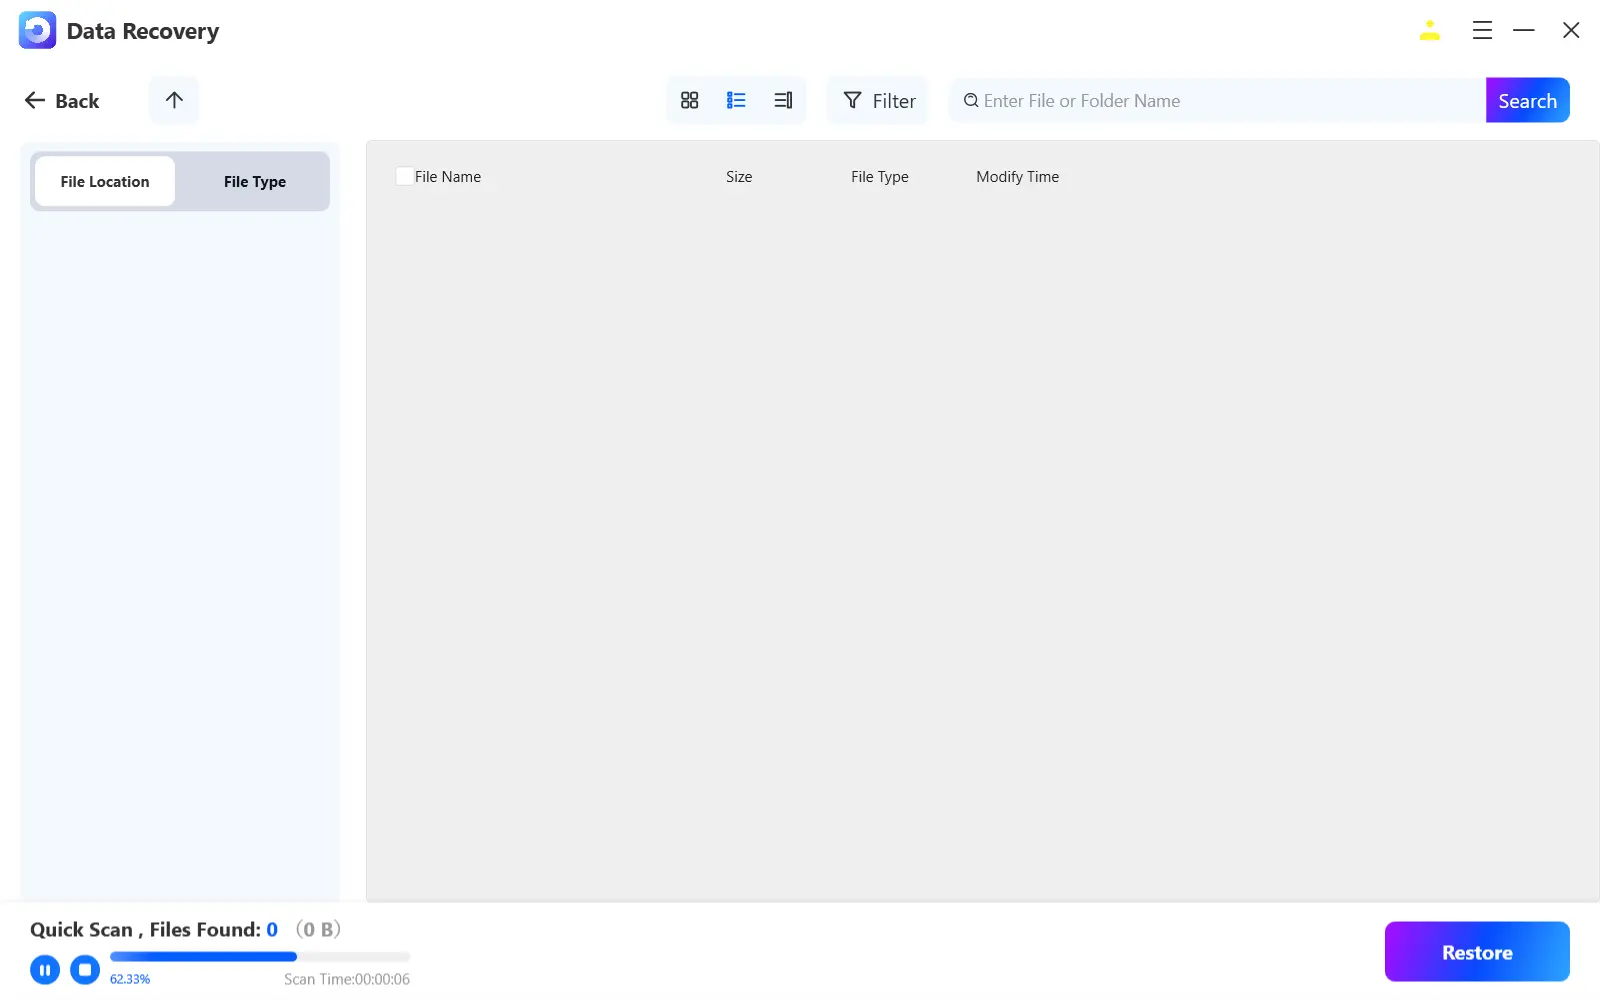
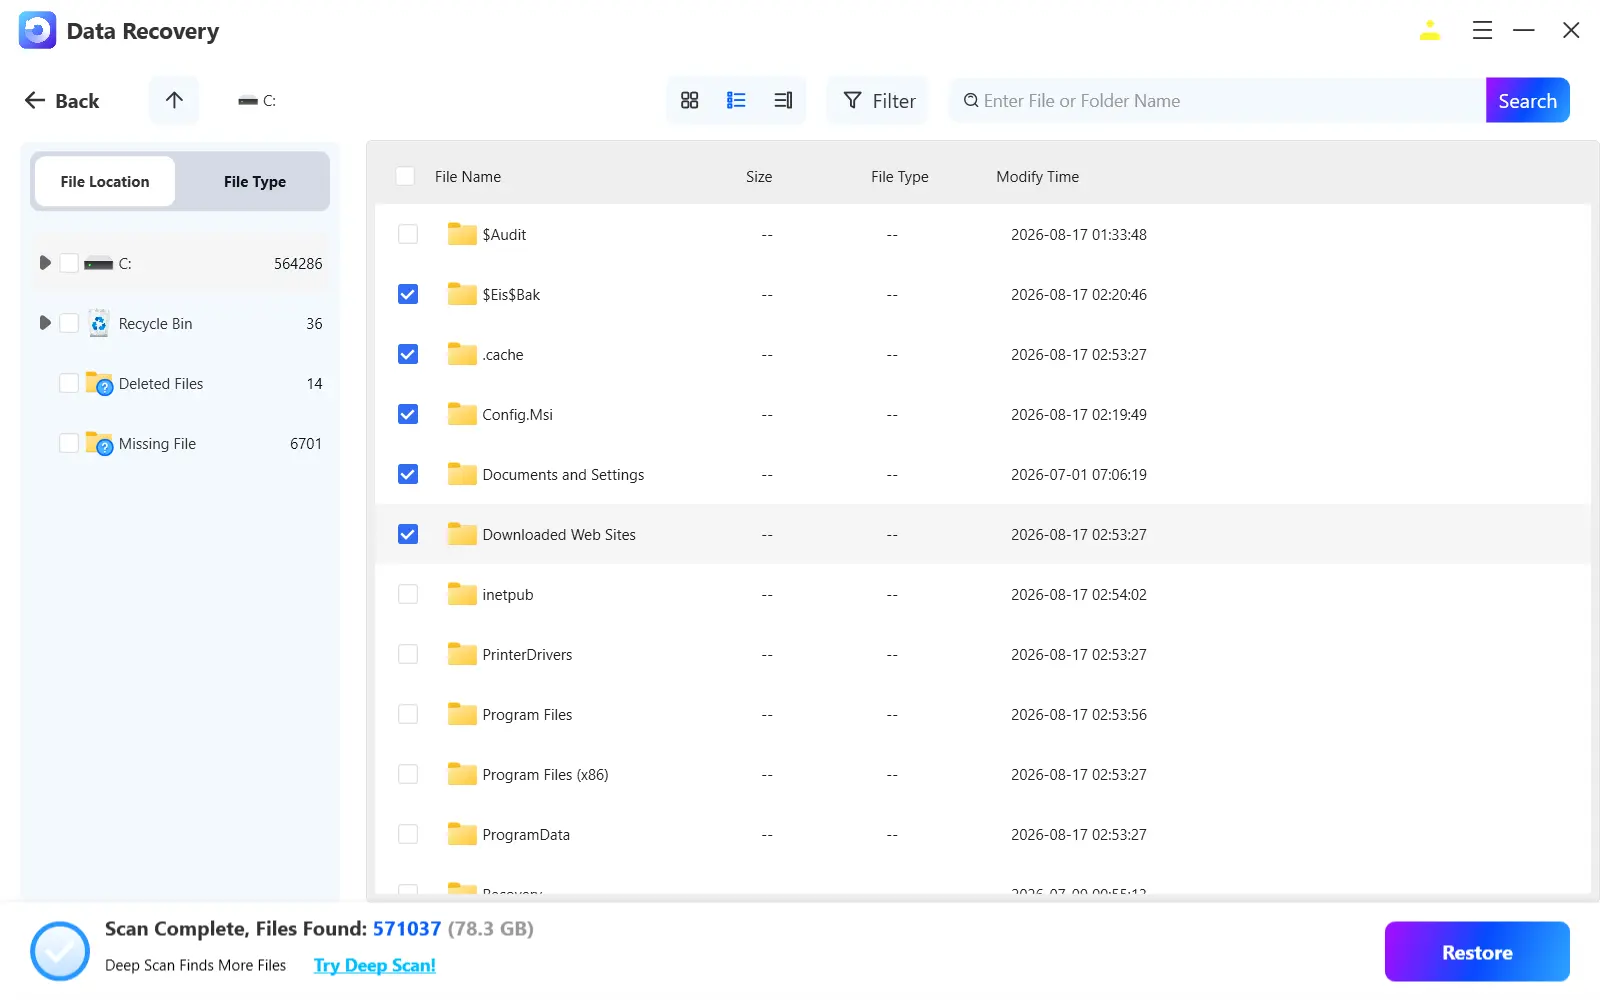
- After the scan finishes, browse the results and preview the files to select the data you want to restore.
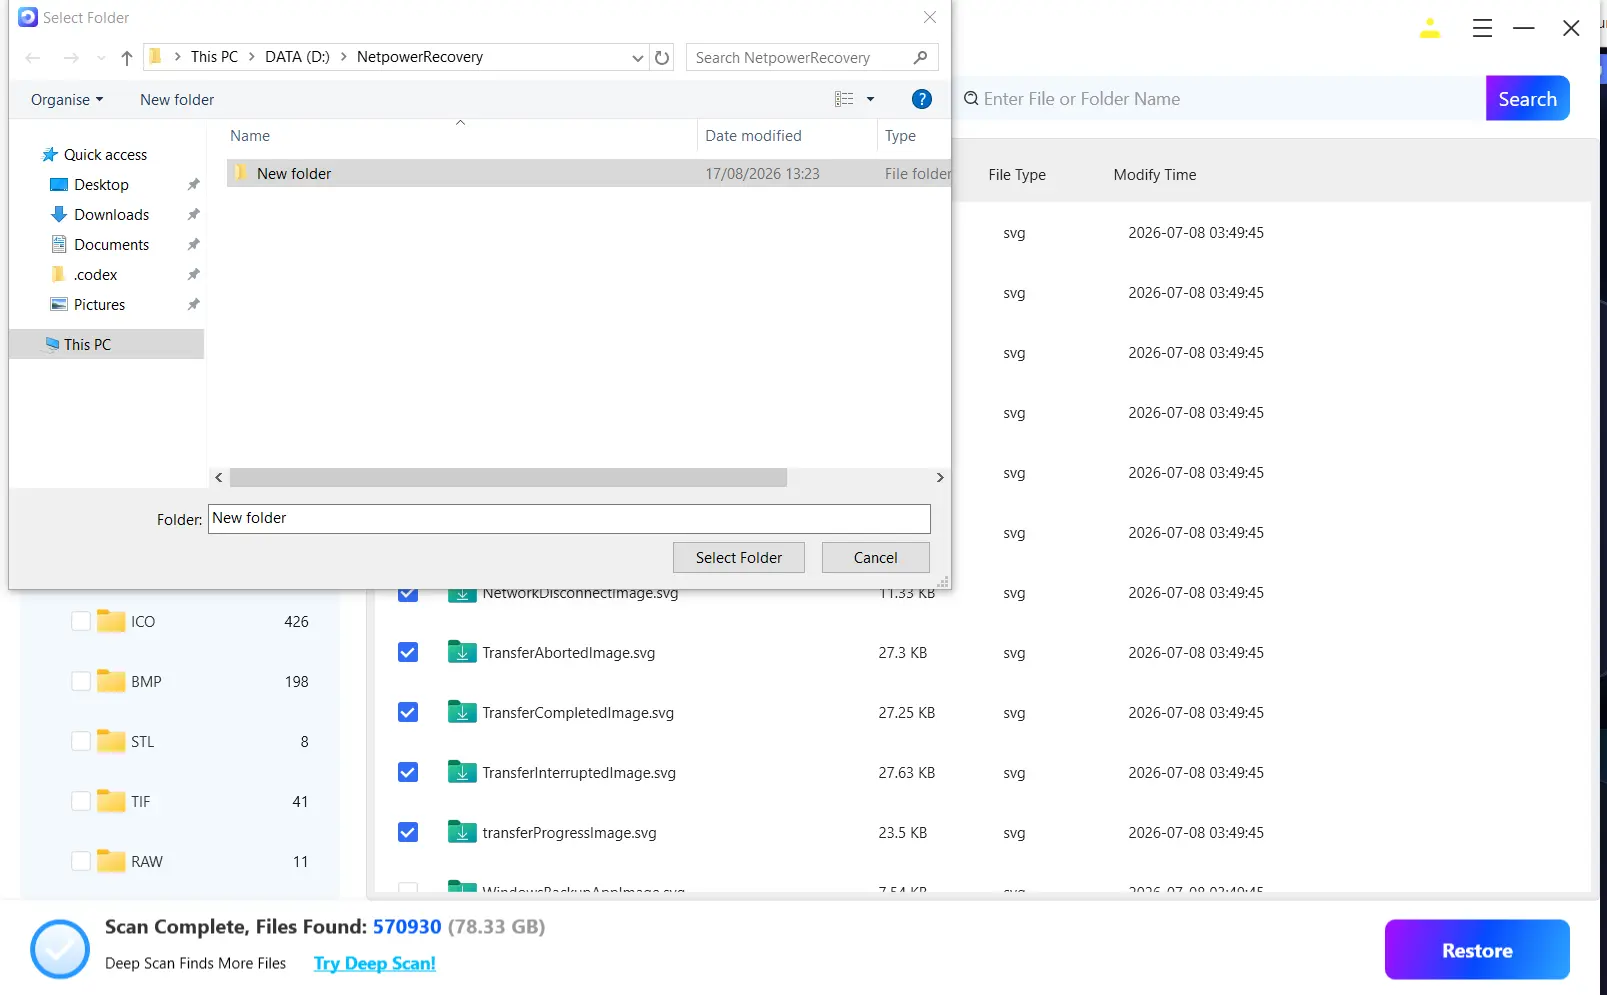
- Select a destination folder to save the recovered files, then start the recovery process.
Verification: Open several recovered files from the destination disk. Fionn Data Recovery supports filtering by file name, location, type, time, and size, plus quick, deep, and RAW signature scans when the first scan is incomplete.
Tips and Common Mistakes
- Stop downloads, updates, and file transfers to the affected disk until recovery is complete.
- Recover the most important files first and preview them before starting a large batch.
- Keep the destination on a separate physical disk when possible.
- Do not defragment, format, or repartition the source volume before scanning.
Conclusion
Start with File History or another existing backup because it is usually the simplest path. If no copy exists, Windows File Recovery provides a command-line route with a separate destination drive. Cloud and external copies can avoid deleted-sector scanning. When those options fail, the recommended Fionn Data Recovery method combines guided selection, automatic scanning, filtering, preview, and recovery to another disk. Verify results by opening files from the destination. If files remain missing, stop using the source drive and consider professional recovery for suspected hardware problems.
FAQ
Can files be recovered after emptying Recycle Bin?
Sometimes. Recovery depends on whether deleted space has been overwritten and whether a backup or scan can find intact data.
Does emptying Recycle Bin permanently erase files?
It removes the normal restore entry, but file data may remain recoverable until new data overwrites it.
Why must recovered files be saved to another disk?
Saving to the source disk can overwrite other deleted data that recovery software has not read yet.
What should I do if a quick scan finds nothing?
Use a deeper or RAW signature scan, filter by file type or date, and preview results before restoring.
Can Fionn Data Recovery recover files from USB or SD cards?
Yes. The supplied product information lists local disks, external hard drives, USB drives, SD cards, and camera cards as recovery entries.


