 Emily CarterScreen Recording
To record your Windows 11 desktop, choose a recording tool that supports the capture area you need. Recording the entire screen shows desktop activity and window switching on the selected display, while window or region capture limits what is visible. Entire Screen, Window, and Region are different recording modes, so choose the visual scope before you start.
Choose What Part of Your Desktop to Record
| Capture Area | What It Records | Use It When |
|---|---|---|
| Entire Screen | The visible activity on the selected display, including the desktop and window switching. | Viewers need to see desktop icons, the taskbar, or actions across applications. |
| Window | A specific application window, depending on the recorder's capture behavior. | You want to focus on one app and exclude unrelated desktop content. |
| Region | The visible content inside a fixed screen rectangle. | Only a panel, dialog, or defined part of the desktop matters. |
Entire Screen does not necessarily mean every connected monitor; confirm the display that the tool identifies before recording. Region capture can include another window if it moves into the selected rectangle. Window capture and region capture are not interchangeable: a window follows the selected app, while a region records a fixed part of the display.
Quick Method Comparison
| Method | Capture Area | Best For |
|---|---|---|
| Snipping Tool | Selected rectangular region | A short clip of part of the desktop |
| PowerPoint | Selected area or the entire screen | Capturing a demonstration for a presentation or separate media file |
| Clipchamp | Entire screen, window, or browser tab | Recording the selected display before exporting from an editor |
| Fionn Screen Recorder | Full Screen, Window, or Region | Deliberately setting capture scope, audio, and output settings before recording |
Use Snipping Tool for a short selected-area recording. Use PowerPoint when the clip belongs with slides or you want to save its embedded recording as media. Clipchamp can record an entire screen, but select Entire Screen rather than Window or Tab. For a configurable Windows 11 desktop screen recording workflow, Fionn Screen Recorder is a practical option.
Method 1: Record a Selected Desktop Area with Snipping Tool
When to use: You need a short recording of a panel, dialog box, or other defined desktop area. Snipping Tool video recording uses a selected screen-region workflow; its Full-screen snip option is for screenshots, not a video full-screen mode.
- Press
Windows + Shift + Rto open Snipping Tool in screen-recording mode.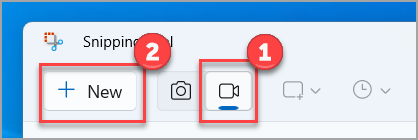
- Select New .
- Drag to select the desktop region you want to record.
- Select Start .
- Select Stop when the clip is complete.
- Save the recording from Snipping Tool.
Expected result: The saved clip shows the selected rectangle, not the entire desktop.
Method 2: Record Your Desktop with PowerPoint
When to use: You are using a supported desktop version of PowerPoint and want the recording on a slide, with the option to save it as a separate video file.
- Open the slide where you want the recording to appear.
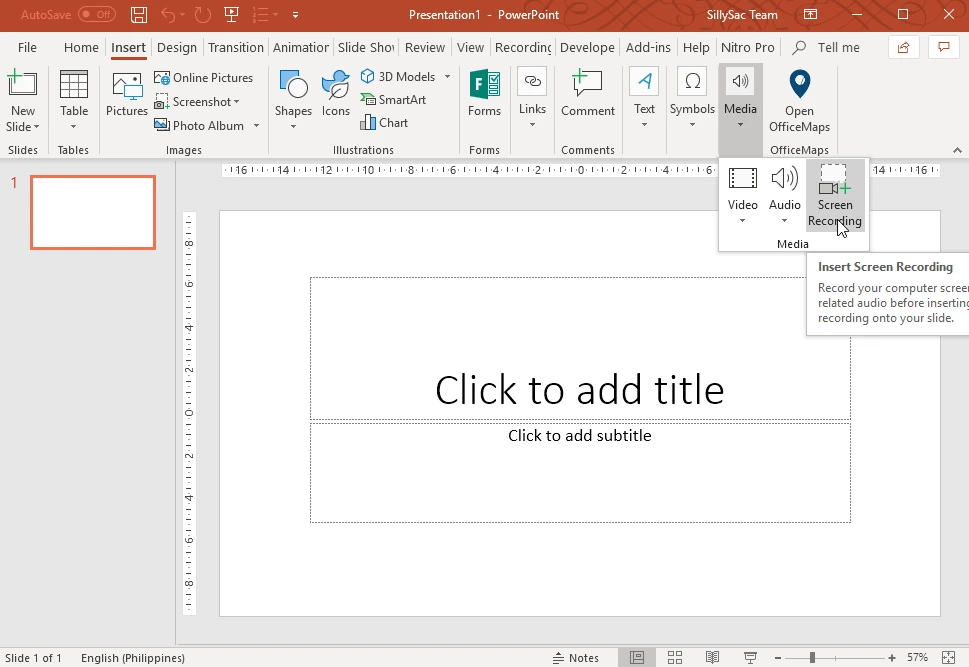
- Select
Insert
, then select
Screen Recording
.
- Select
Select Area
, or press
Windows + Shift + Eto choose an area. - Press
Windows + Shift + Binstead if you want the control's full-screen recording shortcut. - Select Record and perform the desktop actions.
- Select Stop to add the recording to the current slide.
- Right-click the recorded video and select Save Media As to save it as a separate video file.
Expected result: The recording is embedded in the presentation and can also be saved separately.
Method 3: Record Your Desktop with Clipchamp
When to use: You want to record the display through Clipchamp and export the result from its editing workspace.
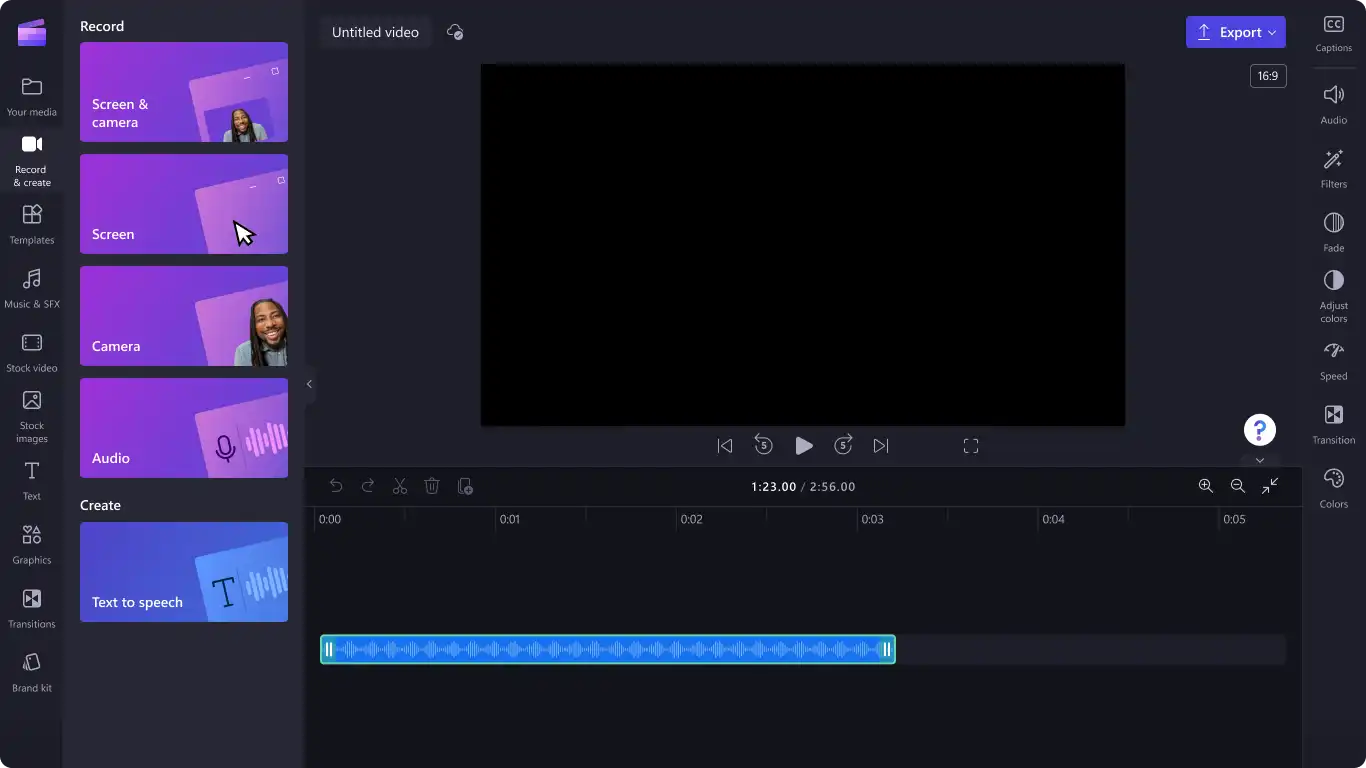
- Open Clipchamp and start a screen recording from its recording tools.
- In the sharing prompt, select
Entire Screen
rather than Window or Tab.
- Confirm that the named display is the monitor you intend to share.
- Start recording and complete the desktop activity.
- Stop sharing, return to Clipchamp, and export the result.
Expected result: The exported video shows activity on the display selected in the sharing prompt.
Method 4: Record Your Desktop with Fionn Screen Recorder
When to use: Recommended when you need to choose Full Screen, Window, or Region, then set sound and supported output settings before recording. Full Screen is useful for desktop icons, the taskbar, switching windows, or a complete workflow. Window and Region can exclude unrelated content.
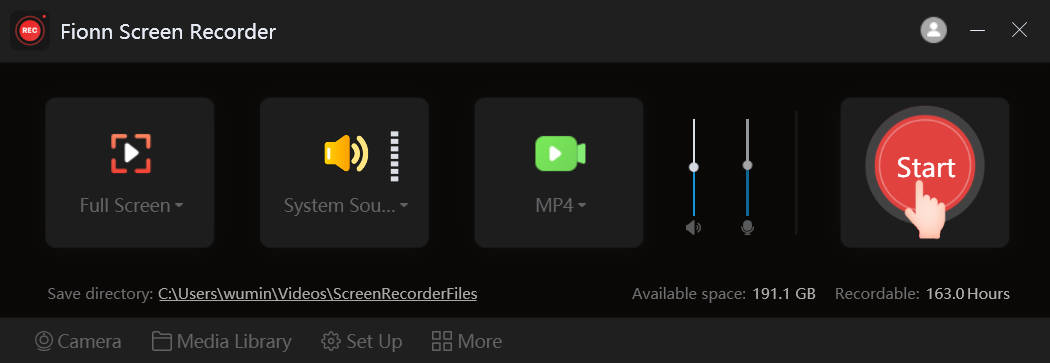
- Launch Fionn Screen Recorder.
- Select
Full Screen
,
Window
, or
Region
for the visual scope you need.
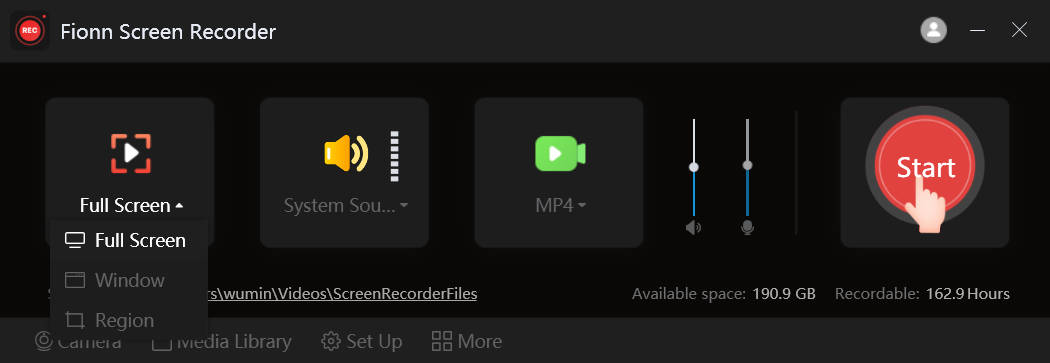
- Choose system audio, microphone audio, both, or no sound.
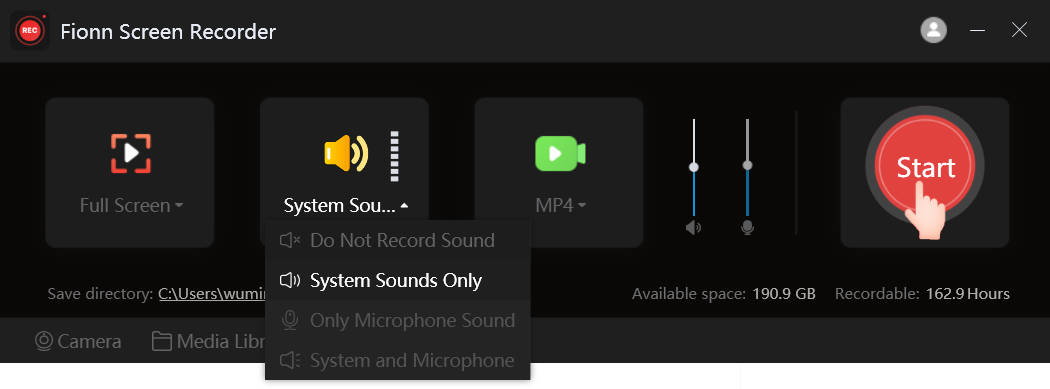
- Configure the output format and supported settings.
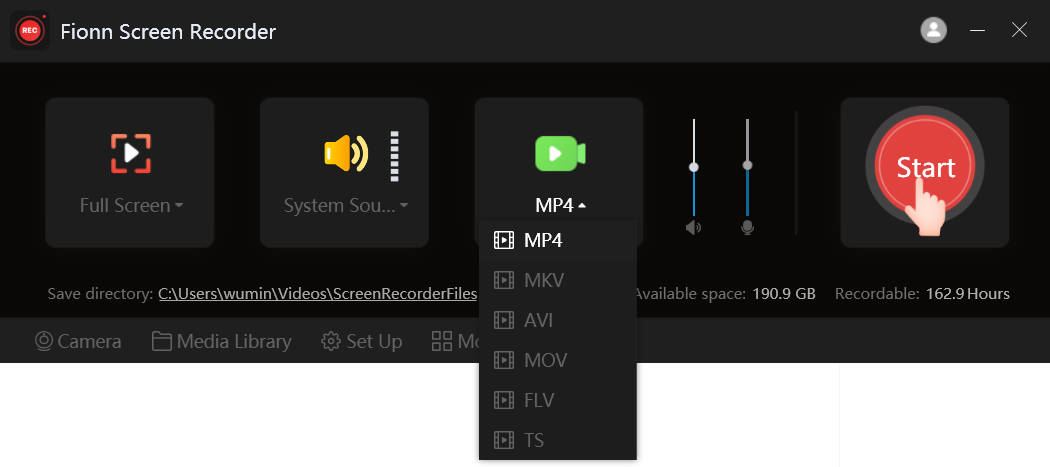
- Start recording, then stop when the desktop demonstration is finished.
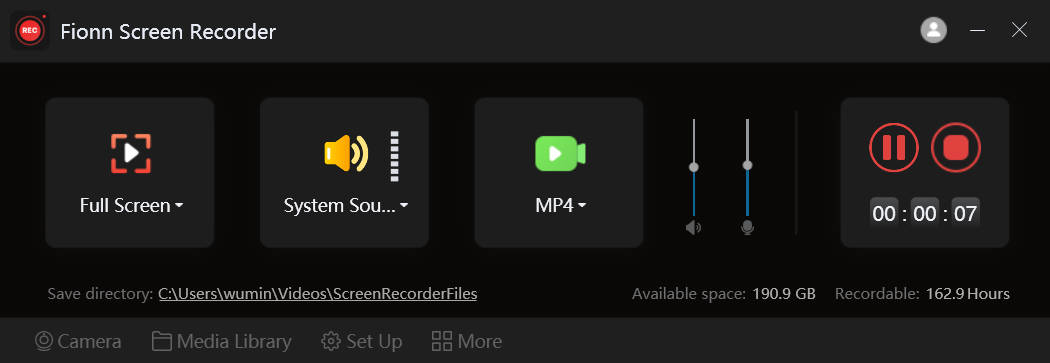
- Open Media Library and verify the saved recording.
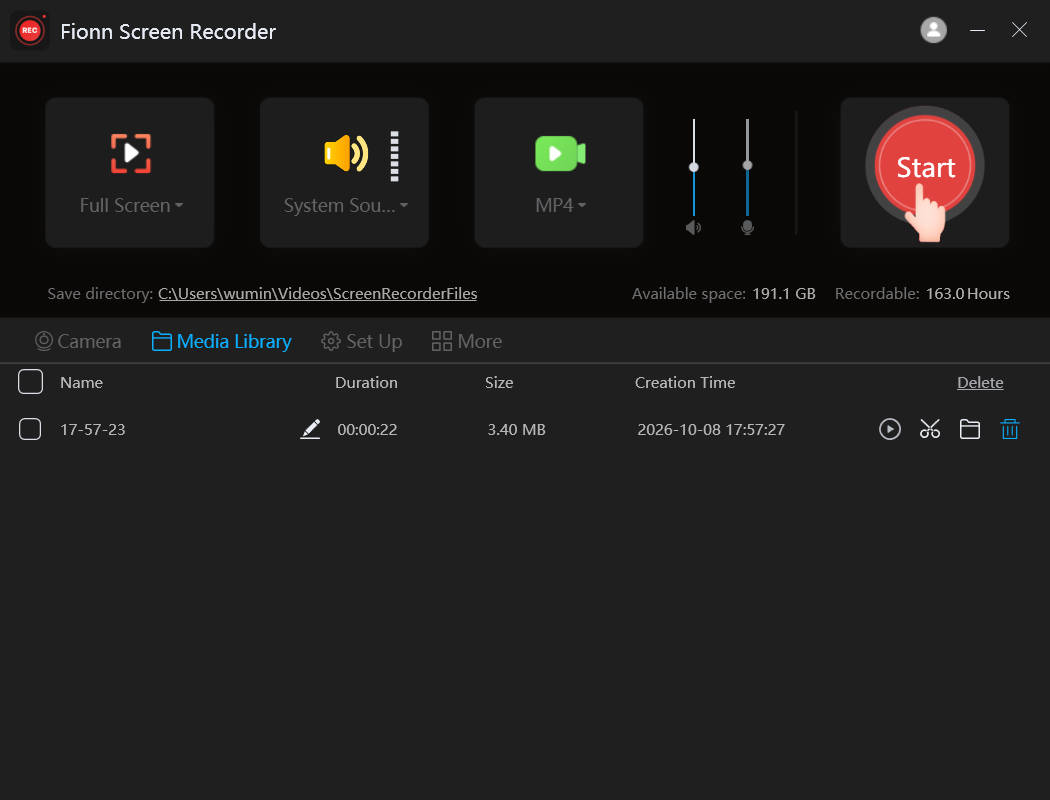
Expected result: The recording is available in Media Library for playback, editing, locating, or deletion.
Why Does My Recording Not Show the Entire Desktop?
- Only one app appears: Window capture may have been selected.
- Taskbar or desktop icons are missing: Check whether the target is a cropped region.
- The wrong monitor appears: Select the intended display before recording.
- Notifications or unrelated windows appear: Choose window capture or restrict the region.
- Recording shows the wrong area: Verify the target with a short test clip before recording the full session.
Conclusion
Choose the capture scope first: Entire Screen for visible desktop activity and window switching on one selected display, Window for one application, or Region for a fixed rectangle. Snipping Tool is suitable for short region clips; PowerPoint supports selected-area and full-screen recording; and Clipchamp can record an entire screen when that target is selected. If you want to configure the target, sound, and output settings before capture, Fionn Screen Recorder is another Windows option. Play the saved video before sharing it. If the wrong area appears, change the capture scope or display and make a short test recording.
Frequently Asked Questions
Can Windows 11 record the entire desktop?
Yes, with a tool that offers an Entire Screen or Full Screen option. Confirm the selected display first, because full-screen capture may refer to one monitor rather than all connected monitors.
How do I record the taskbar and desktop icons?
Select Entire Screen or Full Screen for the correct display. A window or cropped region may leave out the taskbar and icons.
Can I record only one application window?
Yes. Choose Window capture in a recorder that supports it. This is different from selecting a region because it targets an application window rather than a fixed rectangle.
Why does my recording show only one app?
You likely selected Window capture. Start another recording with Entire Screen if viewers need to see desktop activity and switching between apps.
How do I record the correct monitor?
In the recorder or screen-sharing prompt, select the intended display by name or preview. Make a short test recording when multiple monitors are connected.
Can Snipping Tool record a selected desktop region?
Yes. Press
Windows + Shift + R
, select a rectangular area, choose Start, then stop and save the clip.


