 Emily CarterDLL Errors
How to Fix d3dx9_39.dll Missing on Windows 10 or 11
Introduction
A d3dx9_39.dll missing error usually means the affected program cannot load an optional legacy D3DX9 component it expects. Having a newer DirectX version does not necessarily supply that side-by-side library. Try these three methods in order: install Microsoft’s official legacy runtime, repair or reinstall the affected program, then use an optional DLL diagnostic tool. Avoid downloading the individual DLL from an unofficial library site.
Quick overview: choose the right method
| Observed situation | Best starting method | Why it fits |
|---|---|---|
| One or more older programs name d3dx9_39.dll | Install Microsoft’s legacy runtime | It installs optional D3DX9 side-by-side components without replacing the Windows DirectX runtime. |
| Only one program fails, especially after files were moved or removed | Repair or reinstall that program | The program’s installer may restore or correctly register its required dependencies. |
| The cause remains unclear or several DLL-related symptoms appear | Run an optional Fionn scan | A broader scan can check missing, damaged, mismatched, and dependency-loading issues. |
Useful distinction: a current DirectX version and legacy D3DX components can coexist. The Microsoft package described below adds optional libraries; it does not downgrade or replace the DirectX runtime built into Windows.
Method 1: Fix d3dx9_39.dll missing with the official DirectX runtime
When to use
Start here when the error explicitly names
d3dx9_39.dll
, particularly if a game or older application fails at launch. Microsoft states that its DirectX End-User Runtime installs legacy SDK libraries used by some programs, including D3DX9 components.
Step-by-step guide
- Close the affected program and save any open work.
- Open Microsoft’s official DirectX End-User Runtime Web Installer . Use the full June 2010 package from Microsoft instead if you need an offline installer.
- Download
dxwebsetup.exefrom the official page and open the downloaded file. - Accept the Microsoft terms, follow the installer prompts, and let setup add the required optional components.
- Restart Windows if setup requests it, then launch the affected program again.
How to verify
Open the same program from the same shortcut or launcher. The method worked if it starts without the d3dx9_39.dll message and reaches its normal opening screen. If the message remains but only this program fails, continue with Method 2.
Method 2: Repair or reinstall the affected application
When to use
Use this method when one application fails while other programs open normally. It is also appropriate after an interrupted installation, a manual file cleanup, or a change to the application folder. The application’s own maintenance process is safer than guessing where a DLL belongs.
Step-by-step guide
- Back up application-specific saves, projects, or configuration files that are not synchronized elsewhere.
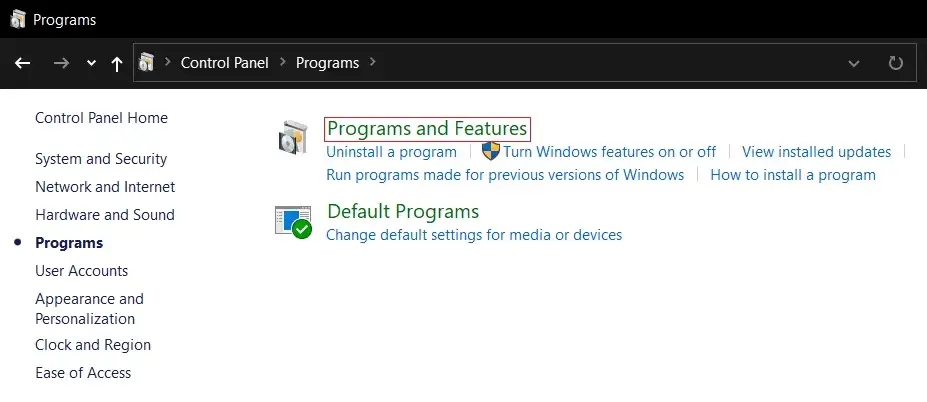
- Open
Settings
, select
Apps
, then open
Installed apps
on Windows 11 or
Apps & features
on Windows 10.
- Find the affected application and use its available Repair or Modify option.
- If no repair option exists, uninstall the application from the same settings page.
- Restart Windows, download a fresh installer from the application publisher’s verified source, and reinstall it.
If the application came from a managed launcher, use that launcher’s verify or repair command when available. This can replace altered application files without requiring a full download.
How to verify
Launch the newly repaired or reinstalled copy. Confirm that the original shortcut points to the current installation and that the missing-file dialog no longer appears. If several DLL errors remain or the cause is still uncertain, an optional diagnostic scan may reduce manual guesswork.
Method 3: Scan with Fionn DLL Fixer
When to use
Consider this optional method after the official runtime and application repair steps. It fits cases involving repeated startup failures, multiple DLL messages, or uncertainty about missing, damaged, mismatched, or dependency-loading problems. The free version provides three attempts; VIP access unlocks DLL, DX, runtime, and system repair benefits.
Step-by-step guide
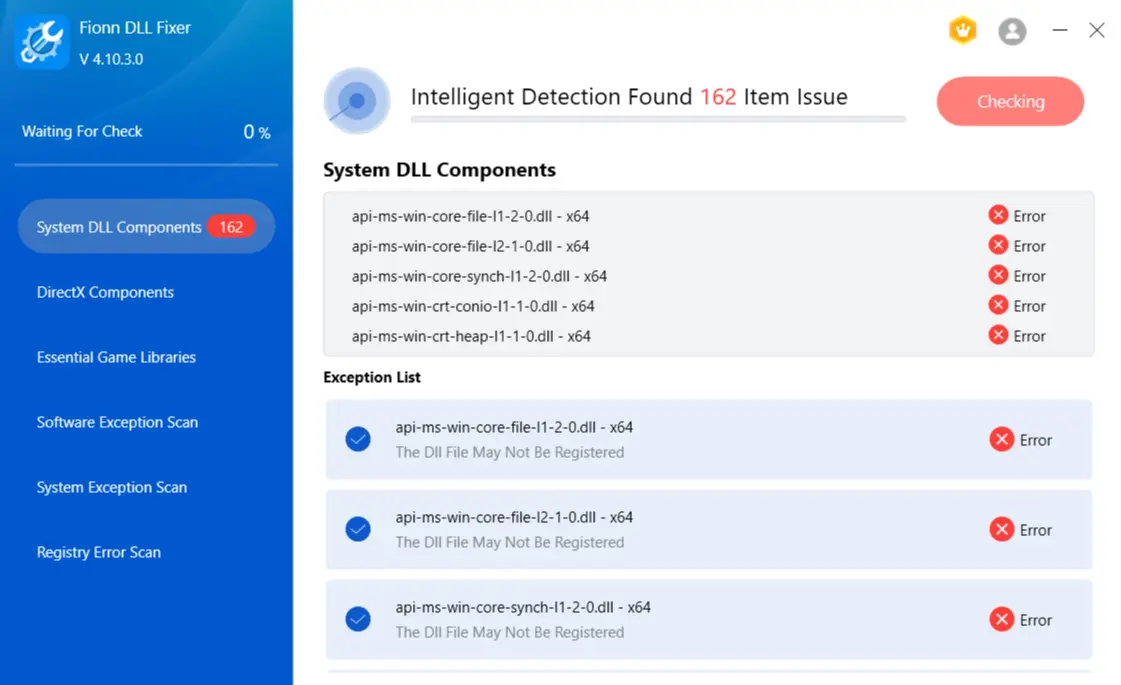
- Launch Fionn DLL Fixer. The software automatically scans your PC for DLL and system issues and displays the detected results when the scan is complete.
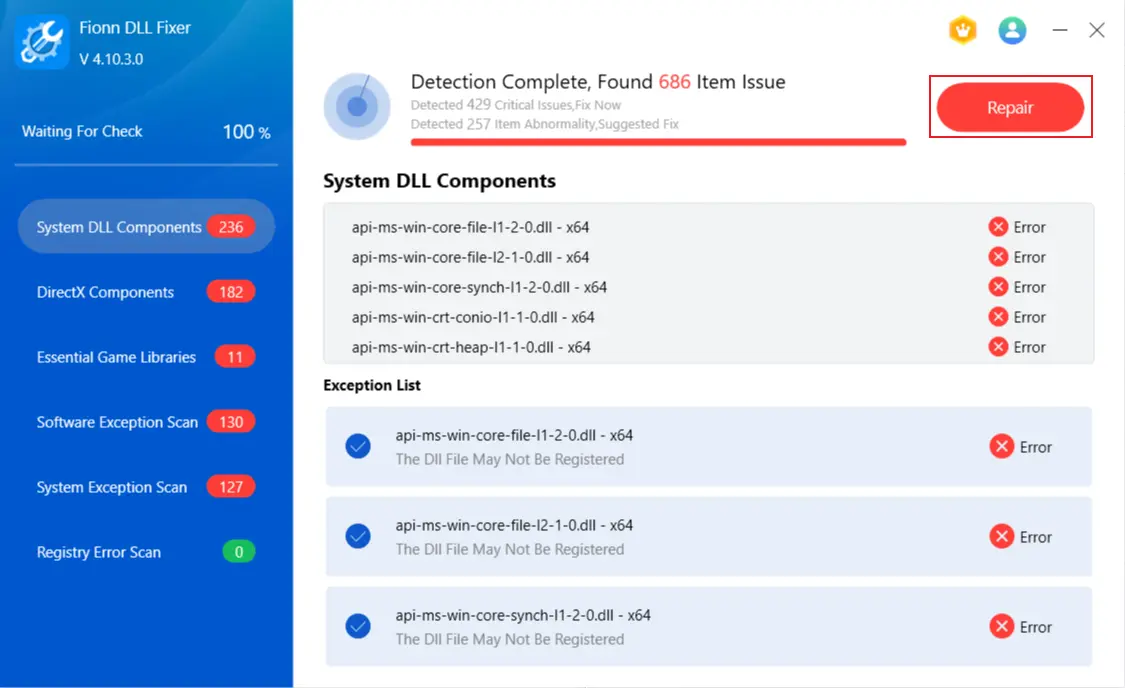
- After the scan finishes, click
Repair
to start fixing all detected DLL and system issues automatically.
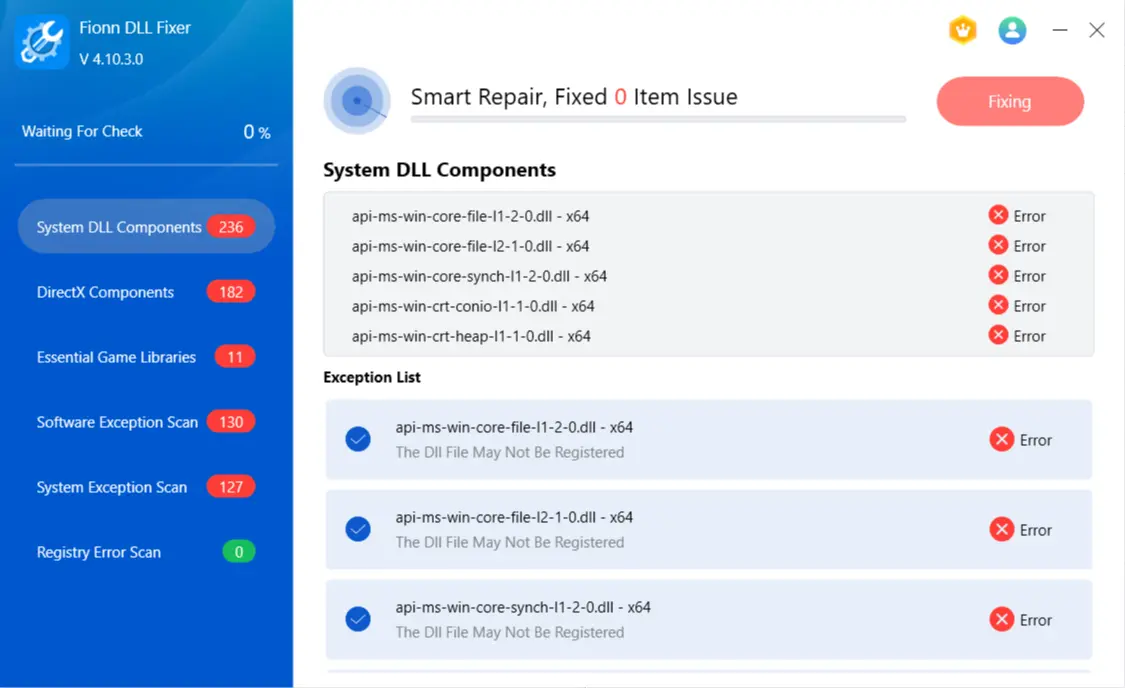
- Wait while the repair is in progress. During this process, the button changes to
Fixing
until all issues have been repaired.
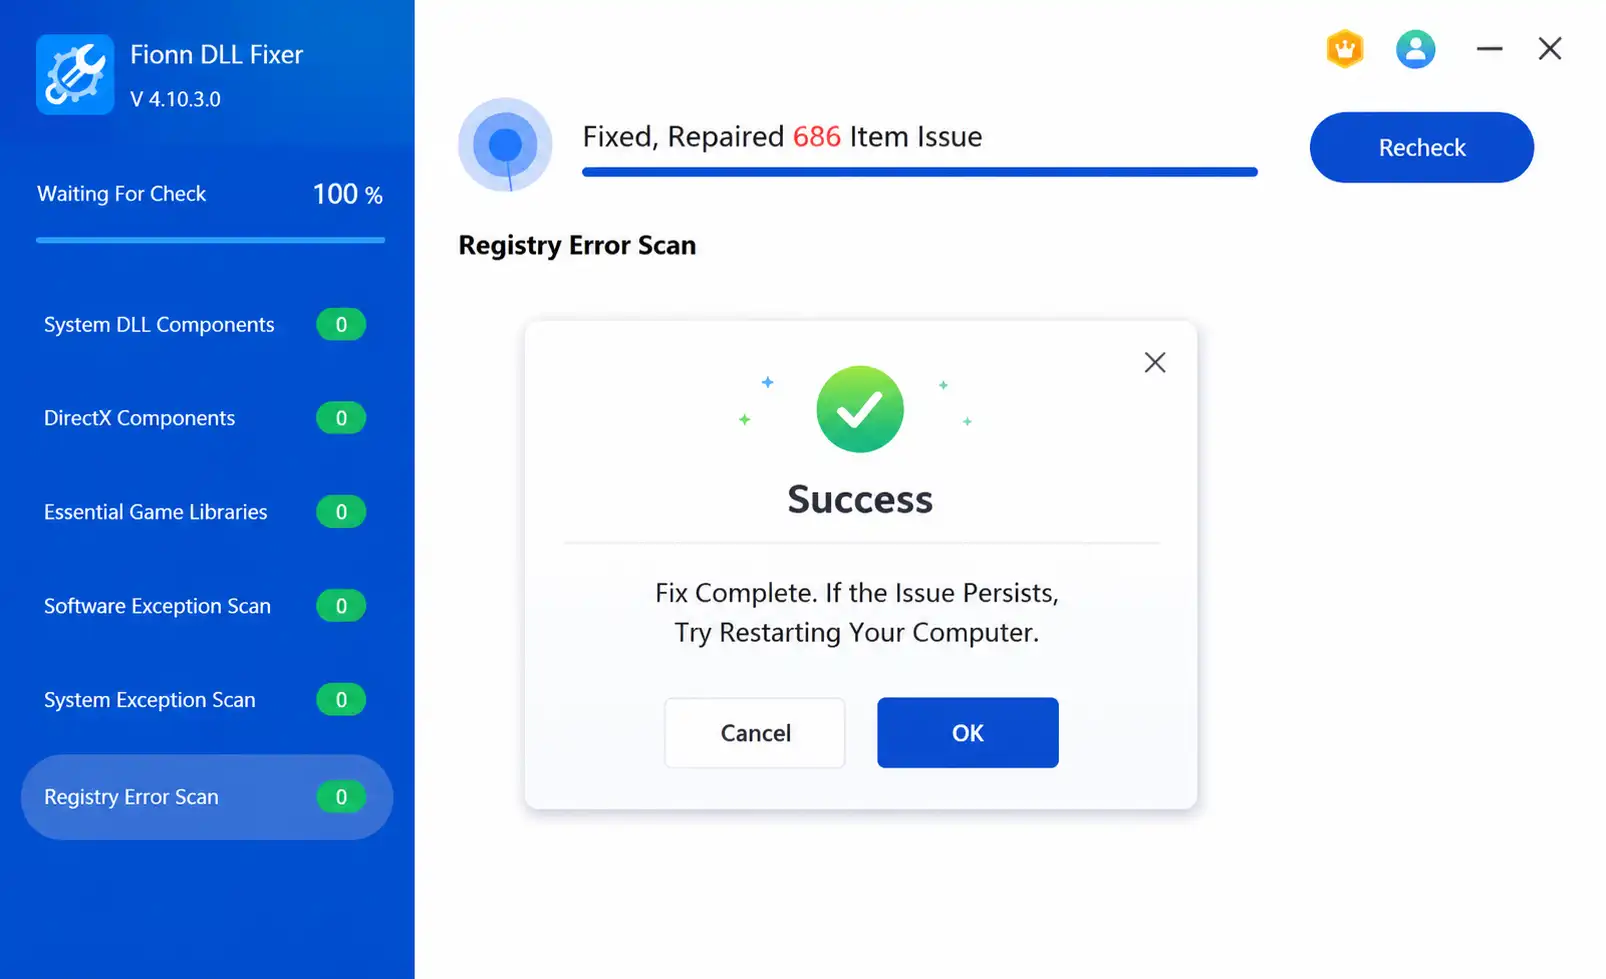
- When the repair is complete, click
Ok
in the confirmation dialog. If prompted, restart your computer before checking whether the problem has been resolved.
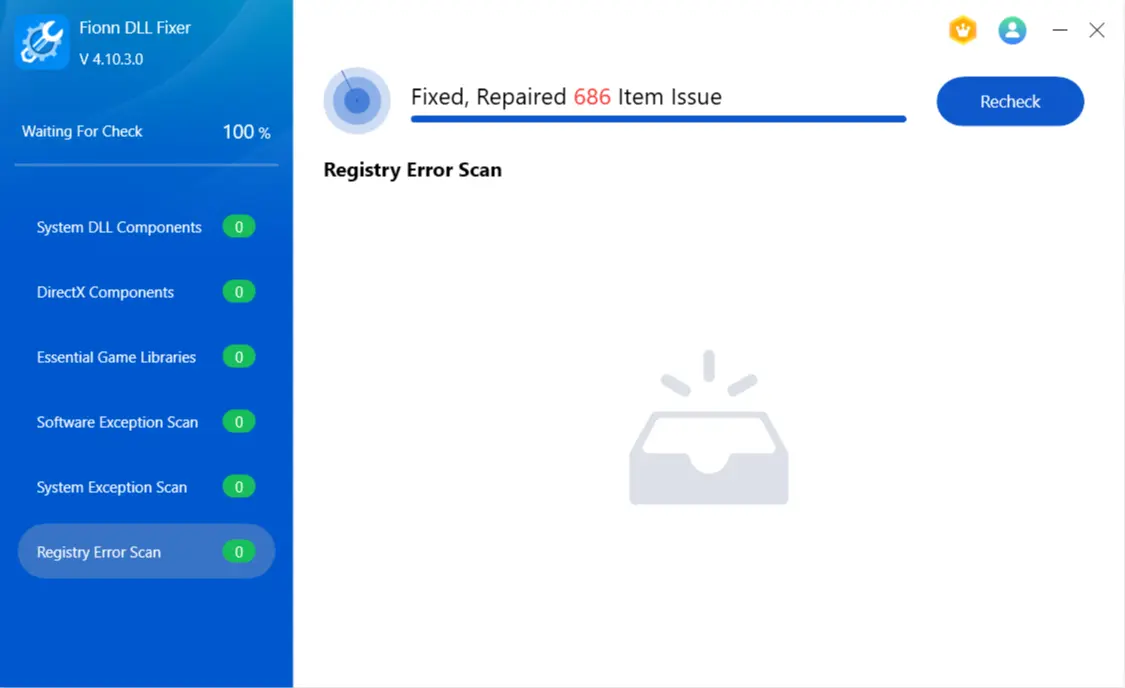
- If the issue still persists after restarting, click
Recheck
to perform another scan. If new issues are found, click
Repair
again to fix them.
How to verify
First confirm that the recheck no longer reports the relevant issue. Then open the affected program and reproduce the action that previously triggered the error. Application launch—not a successful scan alone—is the final verification.
Common mistakes to avoid
- Downloading one DLL from an unknown site: its source, version, architecture, and integrity may be unclear.
- Assuming DirectX 12 includes every older optional library: Microsoft distributes legacy D3DX components side by side.
- Copying files into both Windows system folders: this can place incompatible binaries in sensitive locations.
- Trying unrelated fixes first: graphics-driver updates and broad Windows repairs do not directly restore an optional D3DX9 library.
- Skipping launch verification: always retry the same executable that produced the original message.
Conclusion
For a d3dx9_39.dll missing error, install Microsoft’s official DirectX End-User Runtime first because it supplies legacy D3DX9 components without changing the Windows DirectX runtime. Repair or reinstall the affected program next when the failure is isolated to one installation. Verify every method by launching the same executable and confirming the original dialog is gone. If multiple dependency problems remain, Fionn DLL Fixer offers an optional scan, repair, and recheck workflow. Persistent errors should be escalated to the application publisher or Fionn support, depending on which step reports the unresolved problem.
FAQ
Is d3dx9_39.dll included with DirectX 12?
Not necessarily. Microsoft describes D3DX9 as an optional legacy SDK component installed side by side by the DirectX End-User Runtime. A computer can therefore report a current DirectX version while a program still cannot find this specific legacy library.
Can I download d3dx9_39.dll by itself?
A standalone download from an unofficial library is not recommended. The file’s origin, architecture, and version may be unverified. Use Microsoft’s official runtime installer or the affected application’s verified installer so the required components are placed through a supported installation process.
Will installing the legacy runtime downgrade DirectX?
No. Microsoft states that the DirectX End-User Runtime installs optional legacy libraries without modifying the DirectX runtime already installed with Windows. It is a side-by-side component package, not a replacement for the newer DirectX version reported by the operating system.
Why does only one application show the error?
Different applications load different dependencies. If only one installation fails after the official runtime is present, its local files or installation state may be incomplete. Repair that application, verify its files through its launcher, or reinstall it from the publisher’s verified source.
Should I run DISM or System File Checker for this error?
Not as the first response to this exact filename. Microsoft positions DISM and System File Checker as tools for damaged protected Windows components. The legacy DirectX package and application repair are more directly aligned with an optional D3DX9 dependency. Consider Windows repair tools only when broader operating-system symptoms also exist.


