 Emily CarterScreen Recording
To make game highlight clips, first decide what result you need: one short highlight or a compilation of several moments. For one moment, record the footage, find the event boundaries, trim the extra content, and check the exported file. For a compilation, prepare each event as a separate clip, set the order, and continue in a verified video editor. On Windows, you can record source footage with Xbox Game Bar, OBS Studio, or Fionn Screen Recorder . Before an important session, make a short test recording with audio.
How to Make Game Highlight Clips: Choose a Method
| Method | Best for | After recording | Important limitation |
|---|---|---|---|
| Fionn Screen Recorder | Recording, trimming, and exporting one game clip | Open the recording in the media library, trim it, and export it | The free version cannot save videos longer than two minutes; resolution is limited to 720p |
| Xbox Game Bar | Quickly capturing one game moment | Open the MP4 from the Captures folder and trim it in an available editor if needed | This is a recording path for a standalone short clip |
| OBS Studio | Customizable game-session recording and audio sources | Check the test file and prepare the needed moments for trimming | Requires initial source and audio setup |
Do not combine two tasks: trimming one video removes unwanted content around a selected event, while assembling several separate files into one video requires a verified video editor. Higher frame rates and quality increase file size and computer load.
Method 1: Create a Game Highlight Clip with Fionn Screen Recorder
When to use it: when you need to capture a game segment with audio, then review, trim one recorded video, and export the result in one application.
- Open Fionn Screen Recorder and select “Full Screen,” “Window,” or “Region” from the recording area menu, depending on what you need to record.
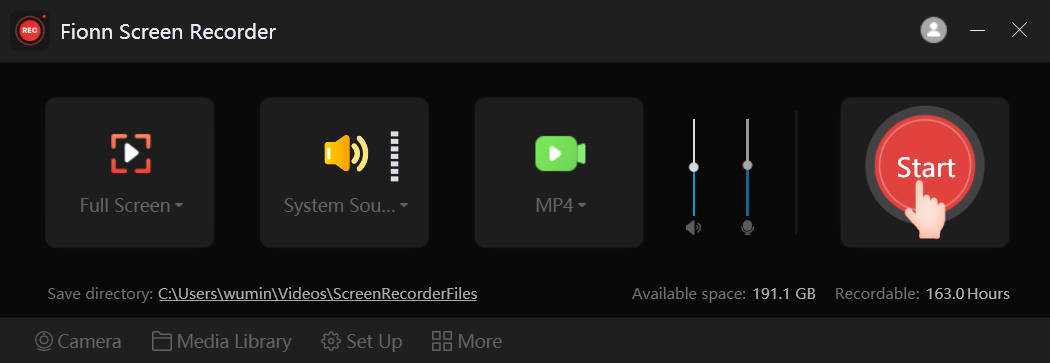
- Choose to record system audio, microphone audio, both sources, or no sound.
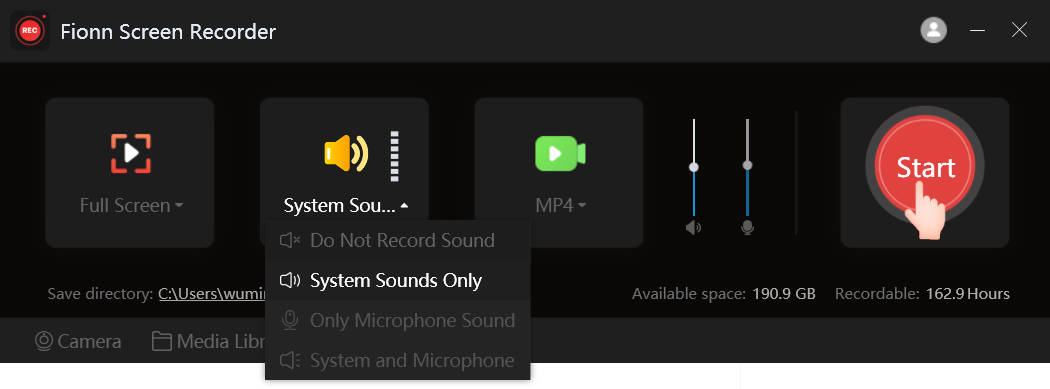
- Select MP4 or another video format before you start recording.
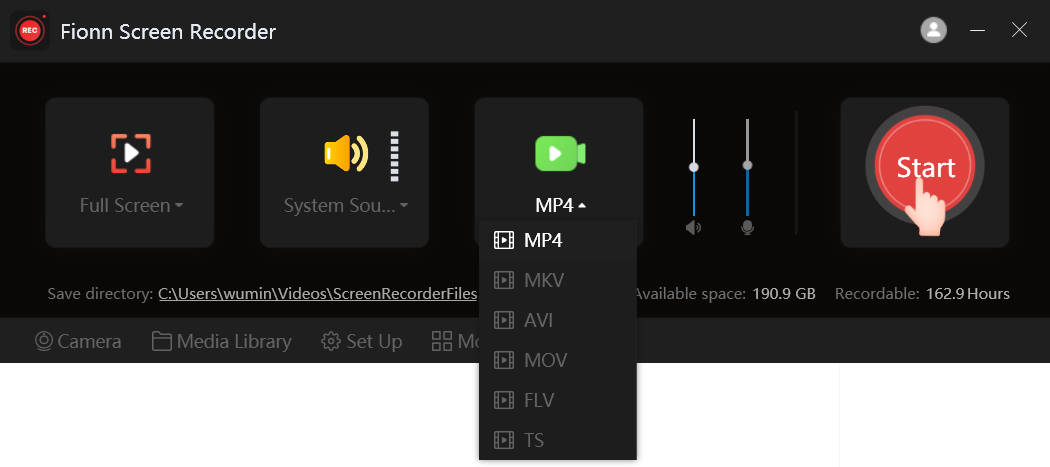
- Click “Start” to begin recording; when finished, use “Pause” or “Stop.”
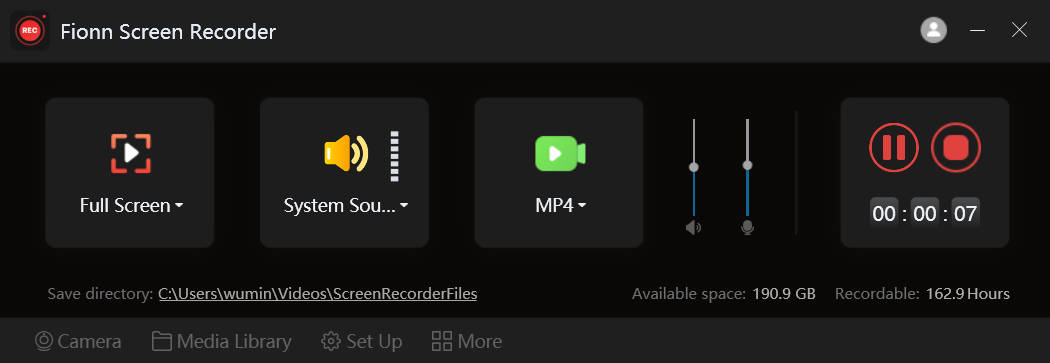
- Open the media library to play, edit, locate, or delete recorded videos.
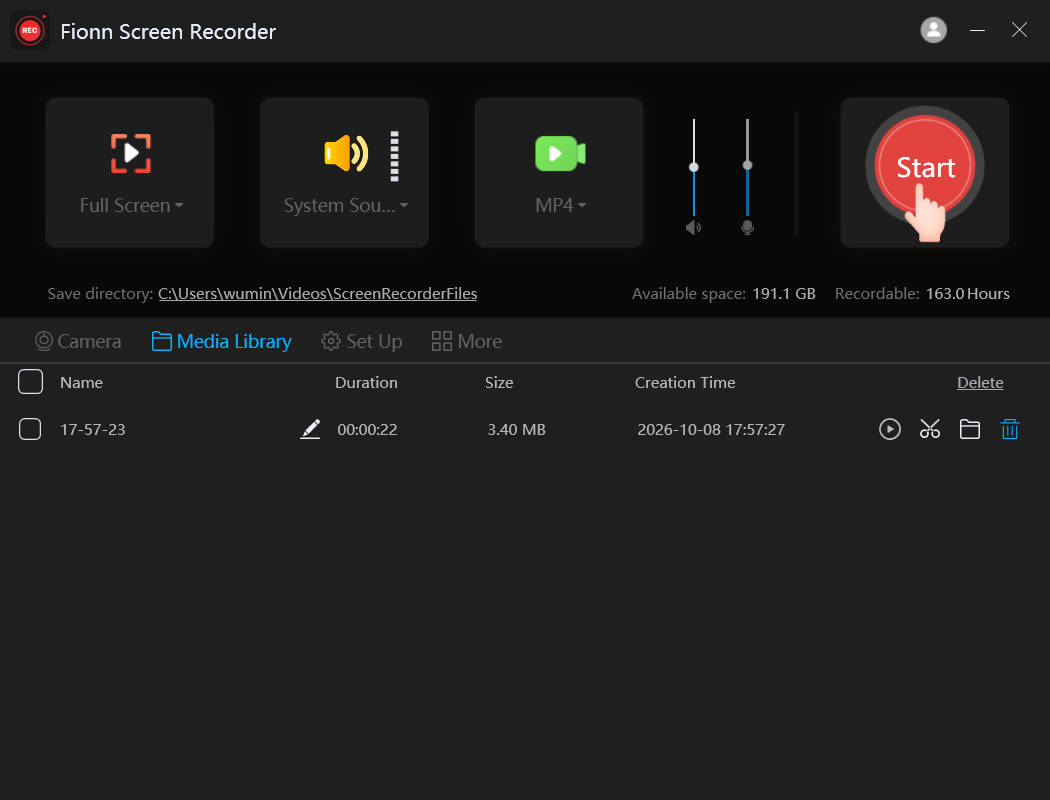
Check: open the created video in the media library and review the beginning, middle, and end of the needed moment. If the clip contains extra content, use the built-in video editor to trim one recorded video and export the result.
Method 2: Record One Game Moment with Xbox Game Bar
When to use it: when you need a quick standalone clip without installing a separate recorder. Microsoft states that Game Bar is available in Windows 10 and Windows 11, and recording can be started and stopped with a keyboard shortcut.
- Open the game containing the moment you want to save.
- If Game Bar is disabled, open Windows Settings, find the Xbox Game Bar setting, and enable it.
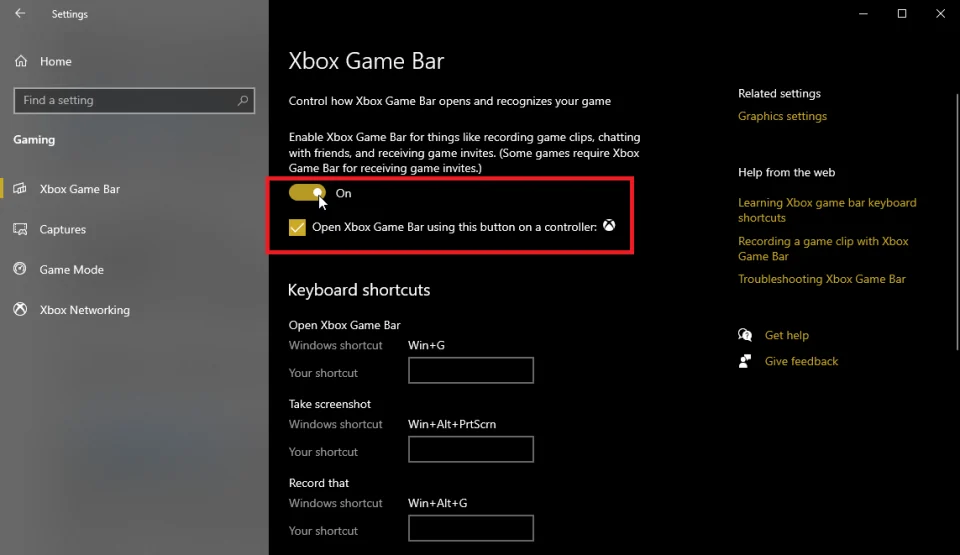
- Press
Win + Gto open the bar and check the audio recording settings if needed. - Press
Win + Alt + Rto start recording. - Press
Win + Alt + Ragain when the game moment ends. - Open the
Videos\Capturesfolder and play the created MP4 file.
Check: the file should contain the game image and expected audio. According to Microsoft Support for recording with Xbox Game Bar , clips are saved as MP4 files in the Captures folder inside Videos.
Method 3: Record a Game Session in OBS Studio
When to use it: when you want to manually select the game source, control audio, and prepare a longer recording for later clipping. OBS Studio requires initial setup, but it lets you verify sources before a match.
- Launch OBS Studio and open the Auto-Configuration Wizard from the Tools menu if it did not appear at first launch.
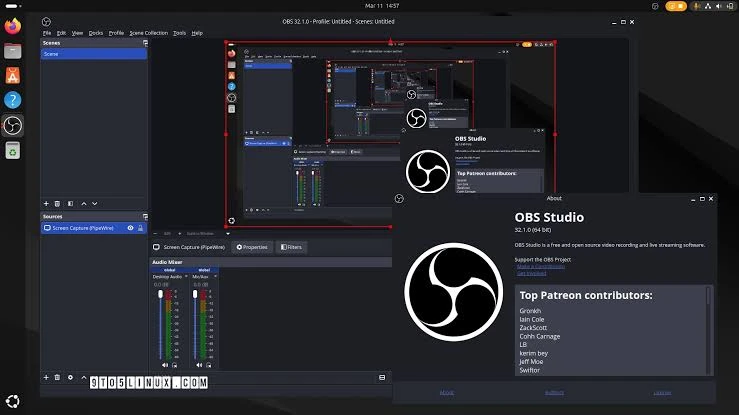
- In the Sources panel, click
+and add a Game Capture source for Windows. - In the audio mixer, make sure the desktop audio and microphone meters respond to sound.
- If necessary, select devices manually in
Settings → Audio. - Check the save path and recording settings in
Settings → Output. - Click “Start Recording,” play a short test segment, and stop recording.
Check: play the test file before the main session: the game should not be a black screen, and game and microphone volume should be distinguishable. The official OBS Quick Start Guide recommends the setup wizard, a Game Capture source for 3D games on Windows, and a short test recording.
One Clip: Find Boundaries, Trim, and Check the Result
This workflow is suitable when you need one finished highlight rather than a video made from several separate files.
- Review the recording and mark the point where the viewer can already understand the context of the event.
- Choose an ending point after the action itself or a short reaction.
- Trim pauses, menus, and failed attempts before and after the selected segment.
- Export the individual clip in an available editor.
- Play the exported file and check the video, system audio, microphone, and event boundaries.
Leave a few seconds before and after the important action so the transition does not look abrupt. If the video looks choppy, reduce the selected recording load and repeat a short test.
Multiple Moments: Prepare a Compilation for Assembly
A compilation starts with separate prepared clips. Trimming each moment does not mean the files have already been combined into one video.
- Write down the start and end timestamps for each successful moment in the source recording.
- Trim each moment as a separate clip, leaving brief context before and after the event.
- Give the clips clear names or arrange them in the desired order.
- Transfer the prepared files to a verified video editor that lets you place multiple clips and export one video.
- After assembly, play the final file and check the order of events, boundaries, video, and audio.
Before Publishing Assembly Instructions
A separate step-by-step guide requires confirmation of the selected video editor, adding multiple files to a timeline, changing their order, and exporting the combined video. The available information confirms trimming and exporting a recording in Fionn Screen Recorder, but not combining multiple clips.
Conclusion
Choose the method based on your end task: Xbox Game Bar works for a quick single moment, OBS Studio for customizable session recording, and Fionn Screen Recorder for recording, trimming, and exporting one clip, subject to the free-version limit. For a compilation of multiple moments, first prepare separate clips, then use a verified video editor to arrange them and export one complete video. In every case, check the final file: video, system audio, microphone, event boundaries, and their order.
Frequently Asked Questions
Where does Game Bar save game clips?
After recording stops, Game Bar saves an MP4 file in the
Videos\Captures
folder. The name usually includes the game or app name, recording date, and time.
How do I record game audio and my voice at the same time?
In Fionn Screen Recorder, select system audio and microphone. In OBS, check the audio mixer meters and assign devices in the audio settings if necessary.
Why should I make a test recording?
A test shows whether the game is being captured, whether the correct audio source is selected, and whether the video is smooth enough. It helps you fix settings before an important moment is lost.
Can I trim a recording directly in Fionn Screen Recorder?
Yes. After stopping the recording, open the media library; the built-in video editor is intended for trimming and exporting recorded video.
What is the limitation of the free version of Fionn Screen Recorder?
The free version cannot save videos longer than two minutes, and the resolution is limited to 720p.
How is trimming one clip different from assembling a compilation?
Trimming retains the needed portion of one video. A compilation requires preparing several separate clips, placing them in the required order, and exporting one video in a verified video editor. Do not treat this feature as confirmed for Fionn Screen Recorder without separate verification.


